CONCRETE BOXES
OF THE M-SERIES
Multitalents in cast-in-place concrete
MULTITALENTS IN CAST-IN-PLACE CONCRETE
One membrane box for the entire building site
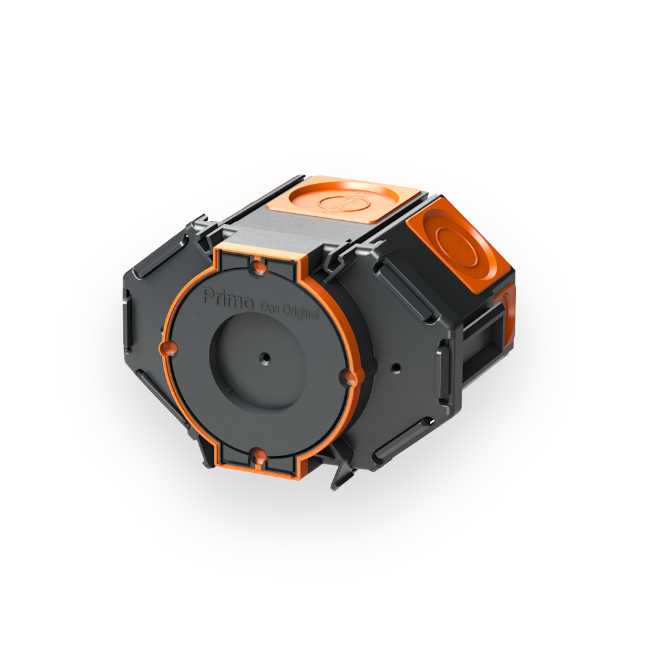
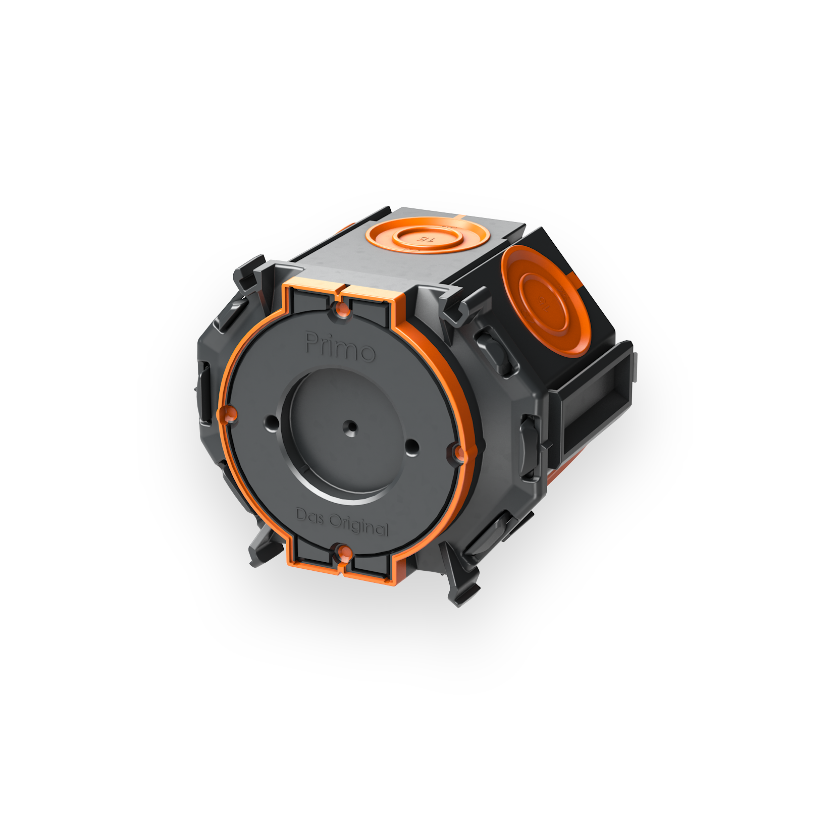
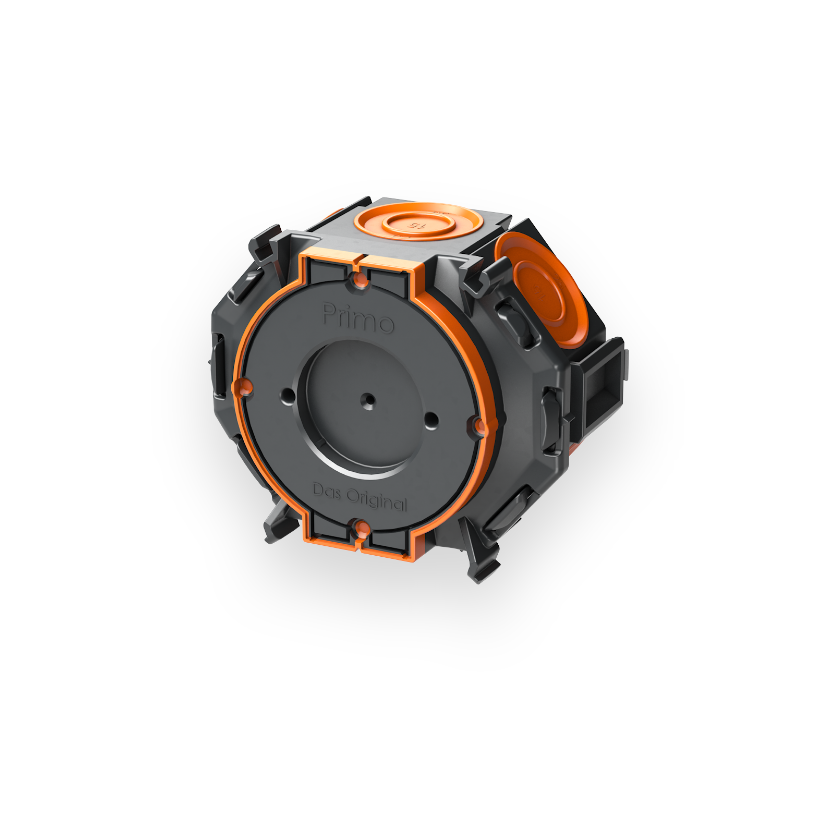
The material battle on the construction site has an end! With the concrete boxes from the M-Series, you have a genuine all-rounder in your assortment. The M1, M2 and M3 membrane boxes impress with multiple application possibilities and uncomplicated installation. That saves nerves, time and money. Thanks to the modern membrane technology, the boxes are absolutely concrete-tight and the conduit grip ensures reliable strain relief. See for yourself.
The membrane box
M1 in action!
The membrane box
M2 and M3 in action!
The concrete boxes of the M-Series are available in three different sizes:
All variants of the M-Series are available with a 60 mm or a 35 mm installation opening, are 100 percent airtight and can be used for a concrete cover of 20 – 60 mm. The polypropylene membrane boxes are heat-resistant from -5°C to 100°C. Due to the smart design, the following areas of application are possible: M1 (5-in-1) / M2 & M3 (3-in-1)
Downloads:
M-SERIES FROM PRIMO
All advantages at a glance!
Easy assembly
in just a few steps
1
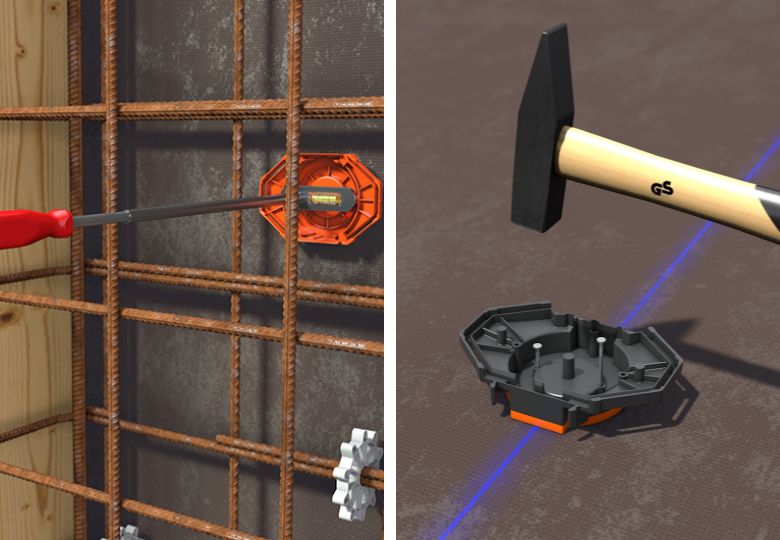
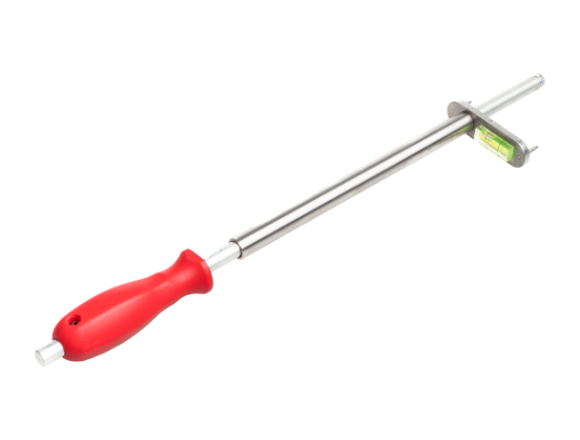
Option 1: Attach the cover of the membrane box to the wall (left) or ceiling (right) at the marked point using nails. If the reinforcement has already been installed, the Primo Nailer helps with simple and injury-free fastening. The wall and ceiling mounting processes are identical.
2
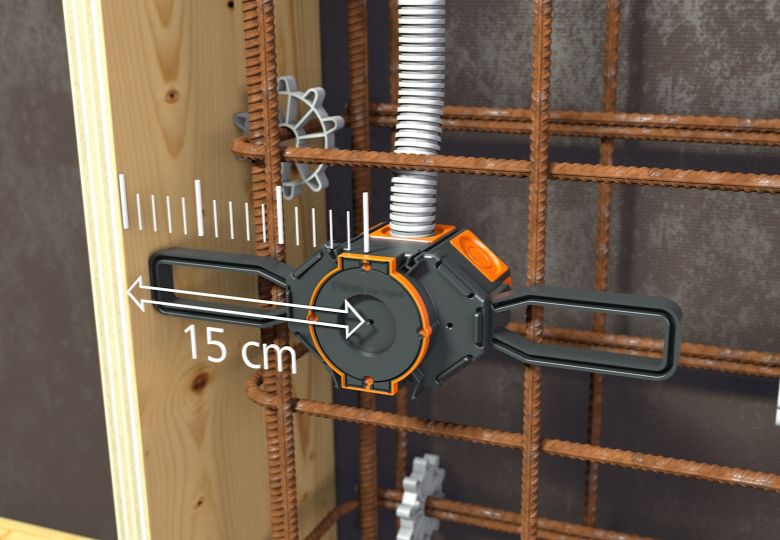
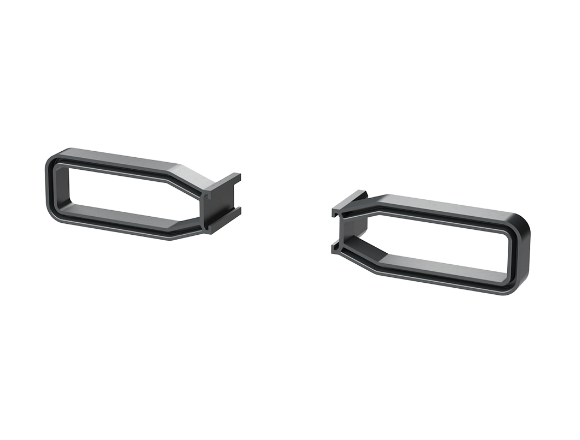
Option 2: Attach membrane boxes directly to the reinforcement using the optional Wings.
3
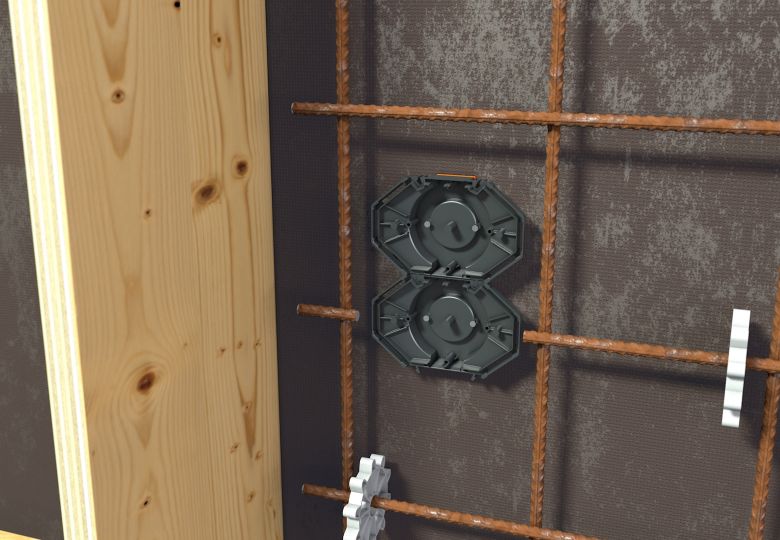
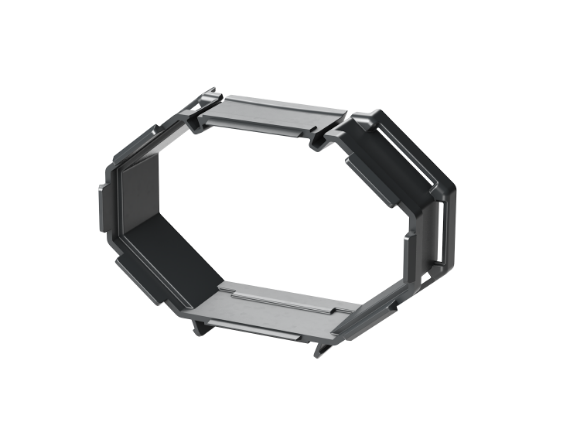
A second concrete box can be easily attached at a standardized distance of 71 mm thanks to SCS connection technology.
4
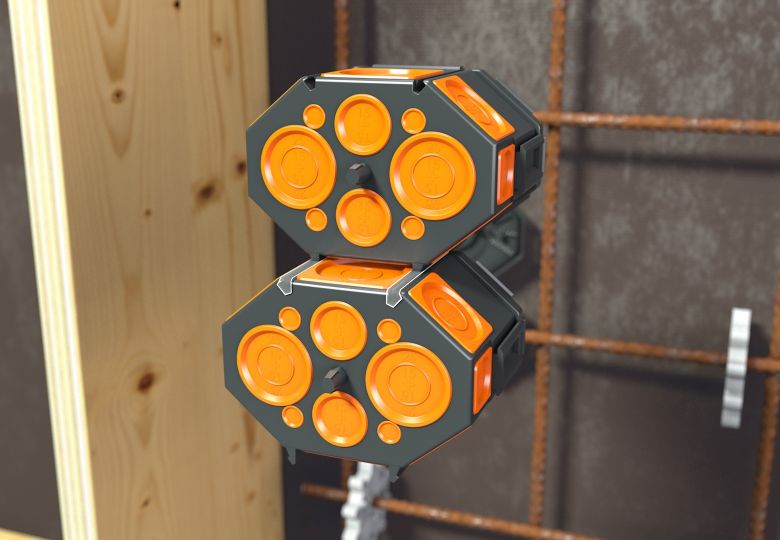
Connect two membrane boxes together simply and stably thanks to SCS connection technology and place them on the fastened covers.
5
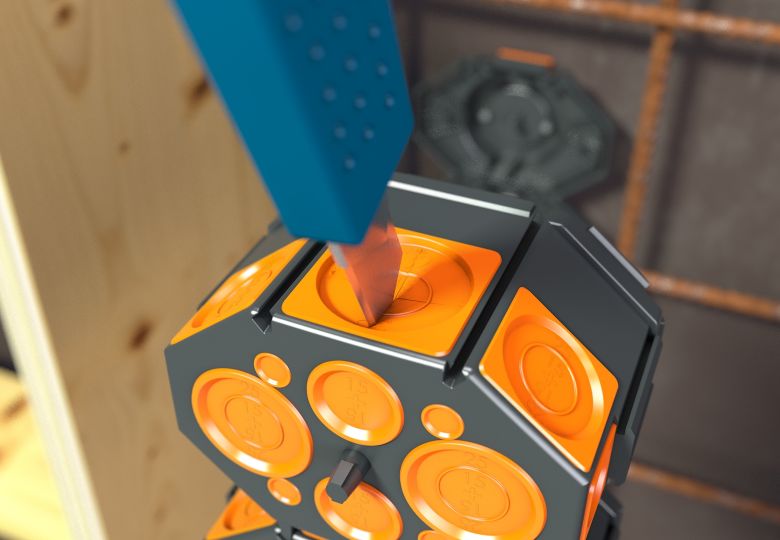
Cut the membrane with a cutter knife.
6
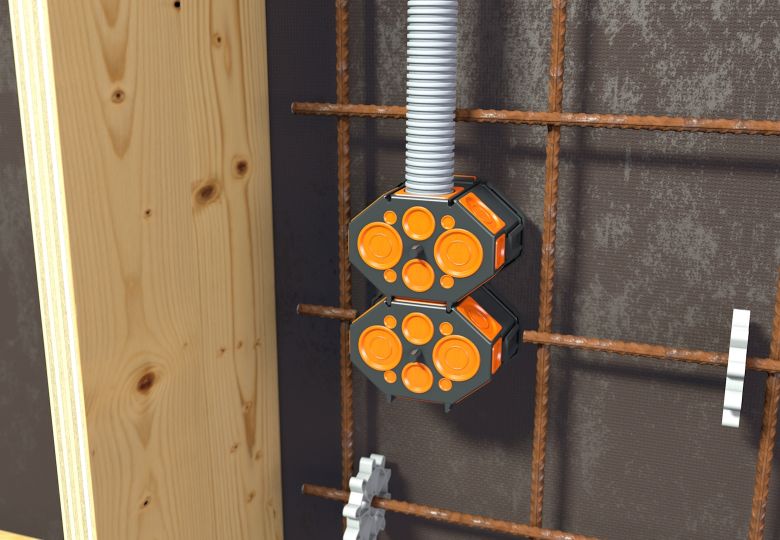
Insert conduits as required without additional tools.
7
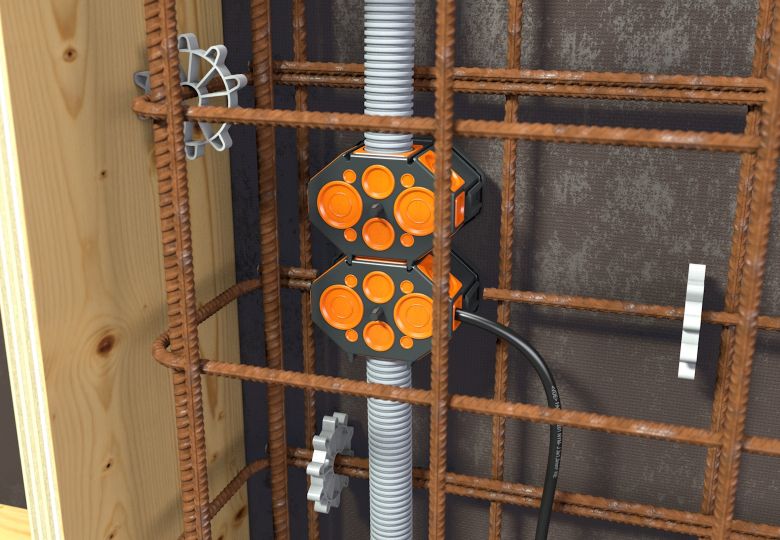
Attach the second reinforcement and pour the concrete.
8
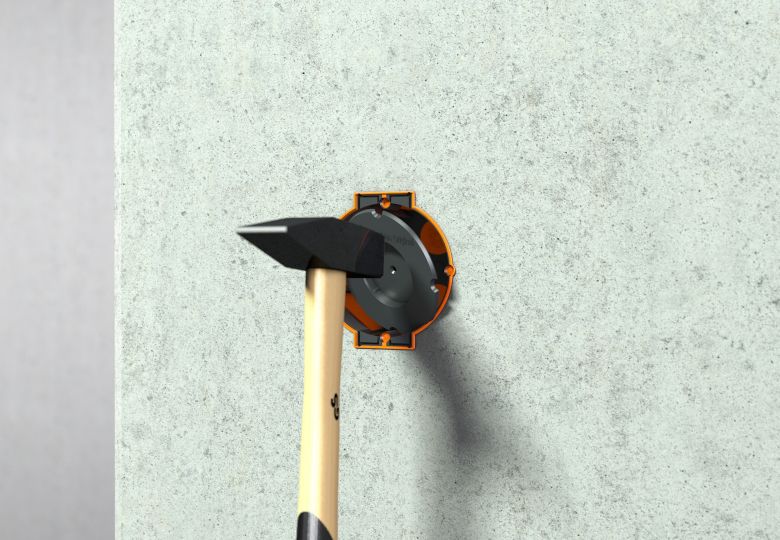
Knock in the cover after concreting.
9
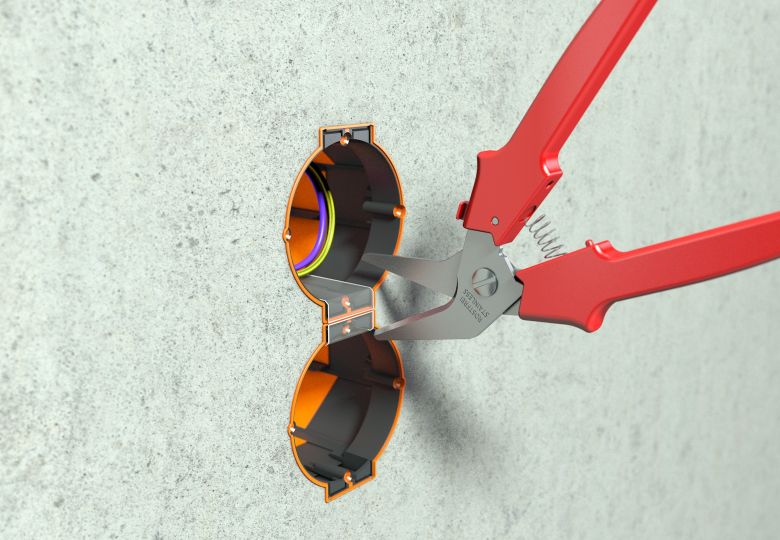
Remove the SCS connection web effortlessly with the Primo Box Cutter.
10
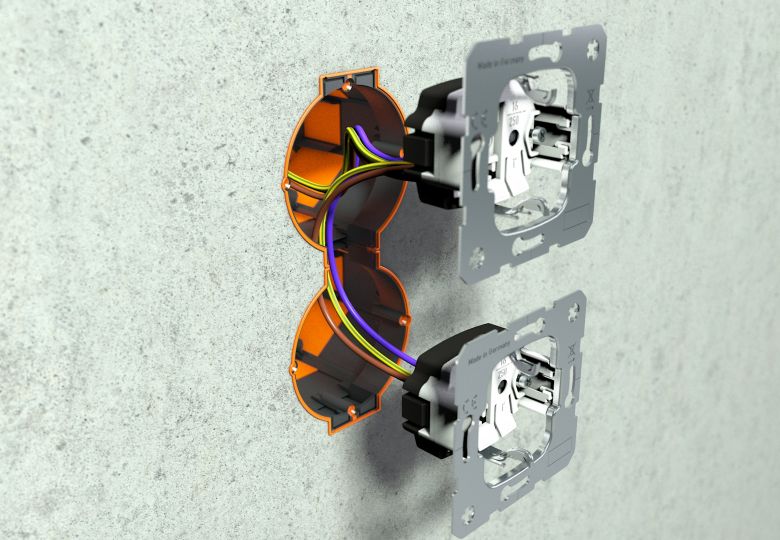
Install prewired devices.
11
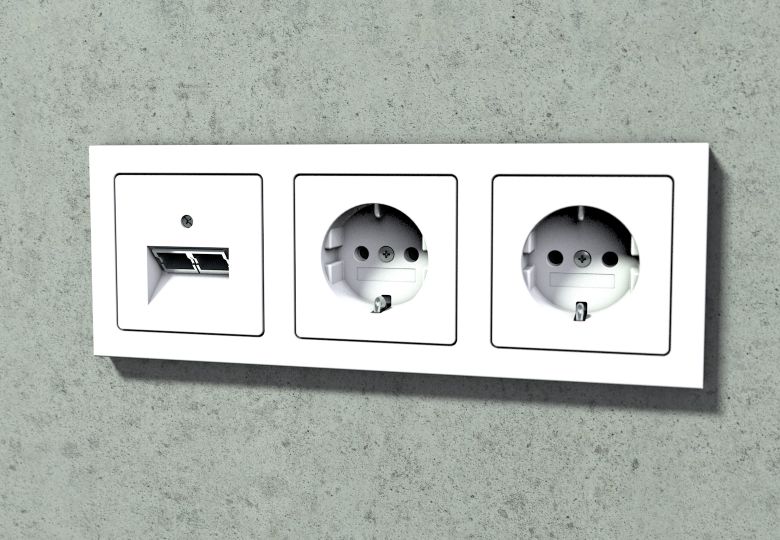
Complete installation.
Accessories for the M-Series
YOU MIGHT ALSO BE INTERESTED IN:
Further solutions for concrete installation
Why does the M1 cost more than a standard concrete box?
Yes, the M1 is a bit more expensive than competing products. However, what’s the most expensive part of the job? Labor! Thanks to modern membrane technology, the boxes are absolutely concrete-tight, and cables and conduits can be inserted without tools. The integrated conduit grip ensures reliable strain relief – eliminating tedious rework and subsequent conduit cutting, which significantly saves labor.
With the M1, you have the huge advantage of only needing one box for the entire concrete installation. The M1 can be used as a device connection box, wing concrete box, ceiling connection box, large-diameter conduit box, or electronics box. This not only reduces your storage costs, but also eliminates the risk of the installer selecting the wrong product.
Does the conduit stay in the box?
Yes, thanks to the conduit grip of the membrane boxes, everything is reliably strain-relieved and absolutely concrete-tight.
Do the Wings hold on to the M-Series?
Yes, the Wings hold on to all Primo concrete products: Membrane Boxes, Installation Housings, Universal Junction Boxes, Grommets, Sleeves and Wall and Ceiling Transitions.
Why is there no thread for ceiling hooks?
We did this deliberately because construction sites are always dirty. If there’s dirt in the thread when you screw in the ceiling hook, you might strip the thread.
Can membrane technology withstand the pressure of concrete?
Yes, it’s been tested. We also have many satisfied customers who use our concrete boxes.
Can the M1 be used as a CEE socket?
For this purpose, we offer the special M1 CEE in our range. This is a further development of our M1, which has already been installed millions of times, and is designed to meet the specific requirements of high-voltage installations.
Do you have any questions about our products? We are there for You
