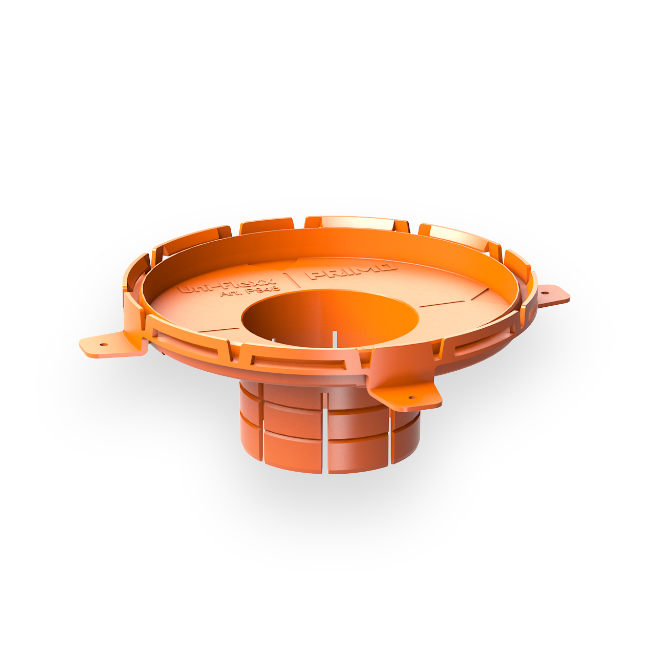
Uni-Flexx front part for XL 150
Built-in devices in visible roof structures
Uni-Flexx front part for XL 150
Uni-Flexx for installation in visible roof structures
A visible roof construction is a visual highlight in any timber construction, but presents the electrician with great challenges. Until now lights, loudspeakers or other built-in devices could only be installed with complicated constructions. The Uni-Flexx now offers the optimal solution for this. In combination with the installation housing XL 150 safe installation under insulation is as easy as it could be. See for yourself.
The innovation for hollow ceilings in action!
Primo XL 150 Uni-Flexx
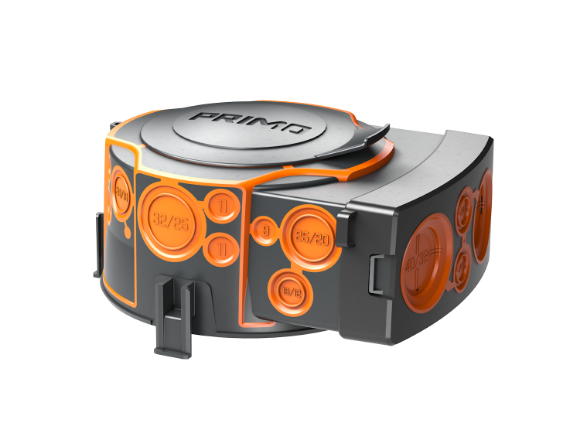
For the installation of lights, loudspeakers or other built-in devices in visible roof constructions, only a small 74 mm hole in the formwork is required. This can be done by any fitter without additional special tools. Thanks to the mounting brackets, the front part is fixed within seconds and the installation housing XL 150 is attached securely. You now benefit from all advantages that the XL-Series offers. Among other things, conduit entry without tools, absolute concrete-tightness, integrated conduit grip and optimal thermal management. Due to this new solution, the insulation is not damaged during the installation of built-in devices and fire safety is still guaranteed.
Downloads:
Uni-Flexx front part for XL 150
All advantages at a glance!

Simple installation in a few steps
1
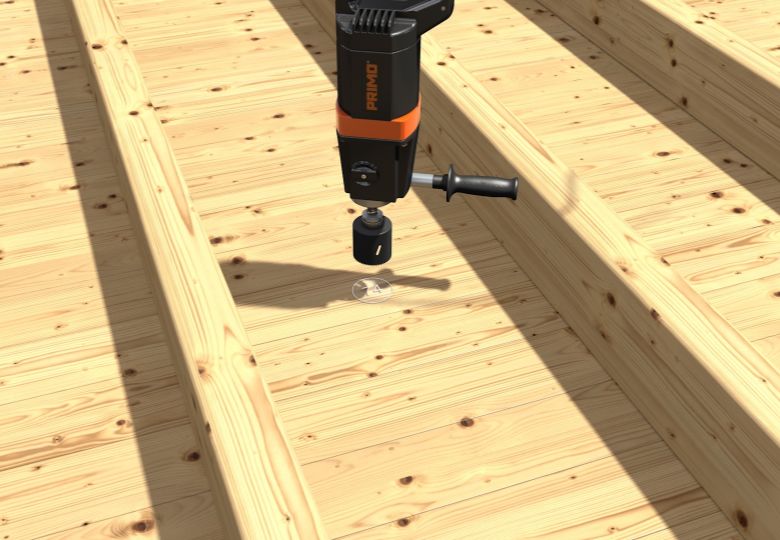
Drill a 74 mm hole in the formwork. A commercially available hole saw is suitable for this.
2
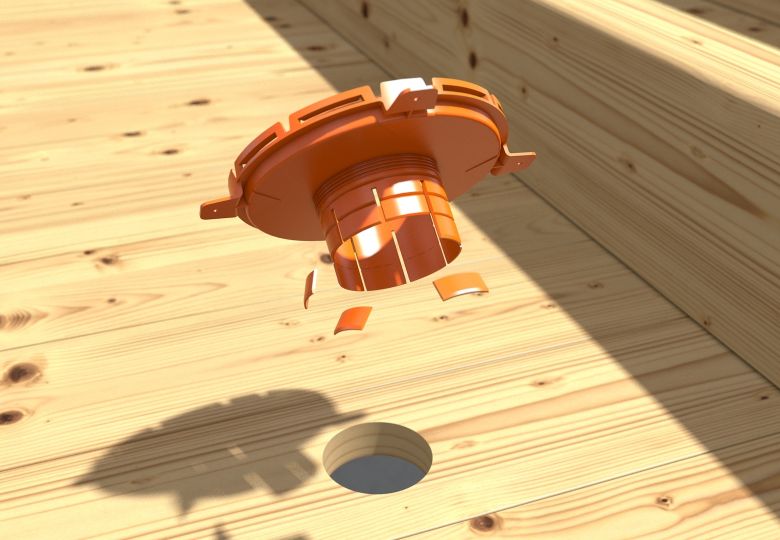
If necessary, cut off installation segments to adapt the installation depth to the ceiling thickness.
3
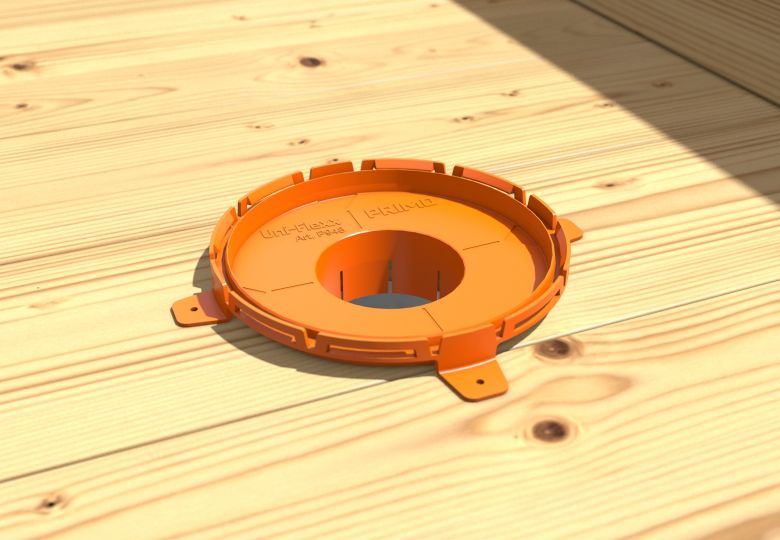
Insert the Uni-Flexx into the drill hole.
4
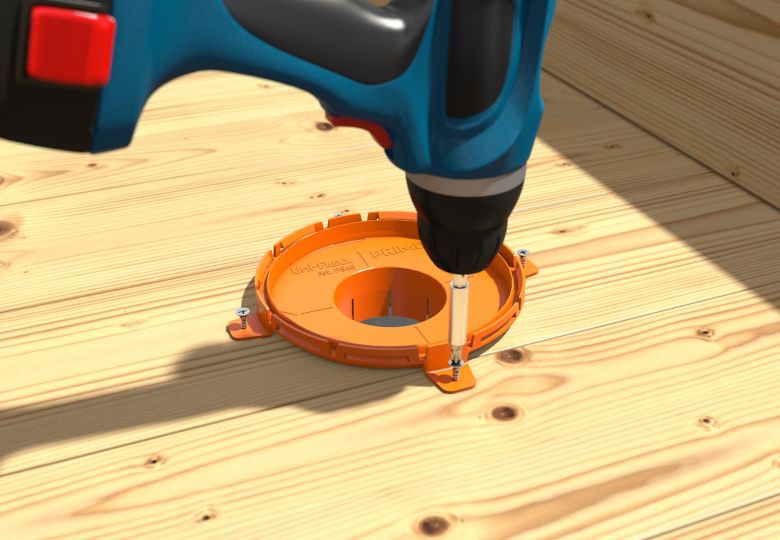
The Uni-Flexx front part is fastend to the formwork with screws. The mounting brackets serve as a guide for the screws.
5
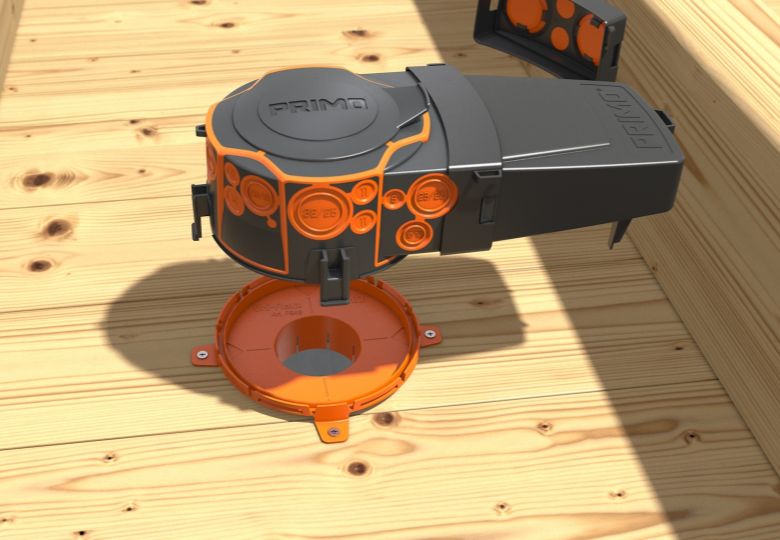
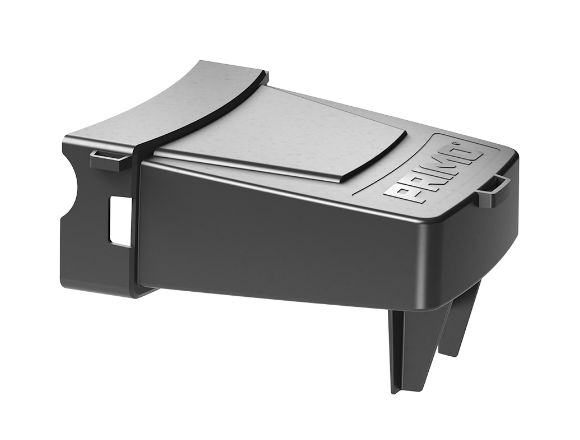
Attach installation housing XL 150. The Universal Tunnel can optionally be attached to expand the installation space.
6
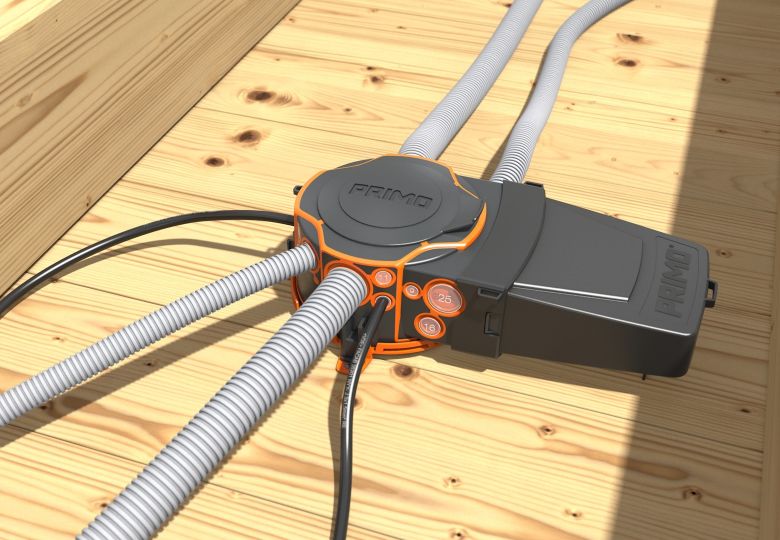
Open the membrane with a cutter knife to insert cables and conduits.
7
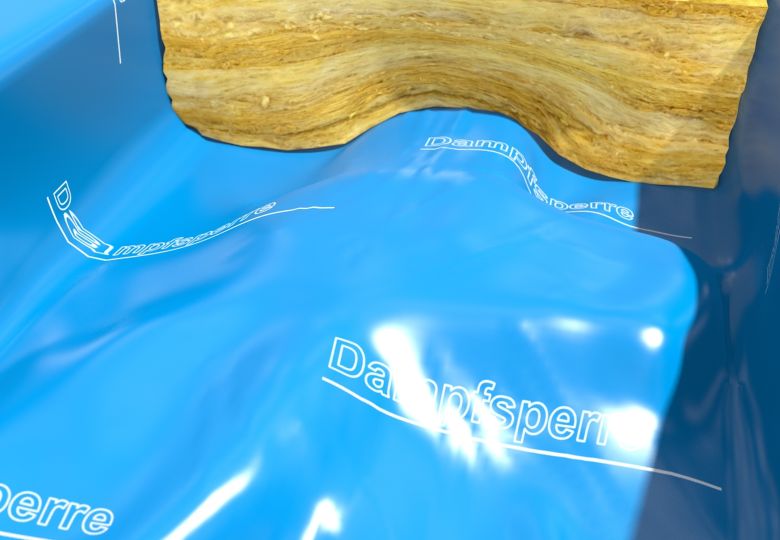
Attach the insulation.
8
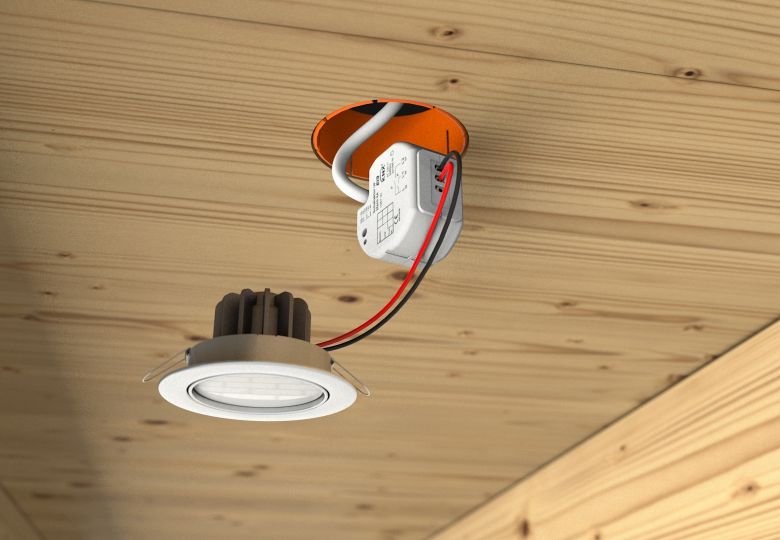
Connect built-in lights and other built-in devices from below and insert them into the 68 mm installation opening. Done!
9
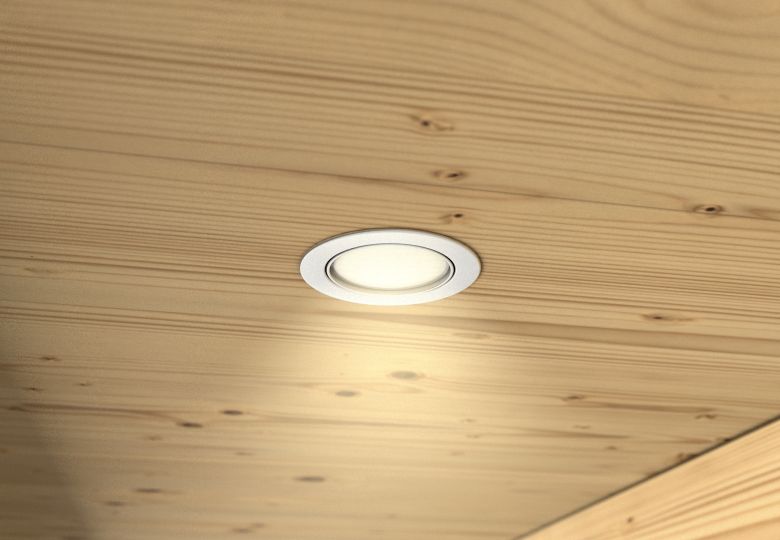
Complete installation.
10
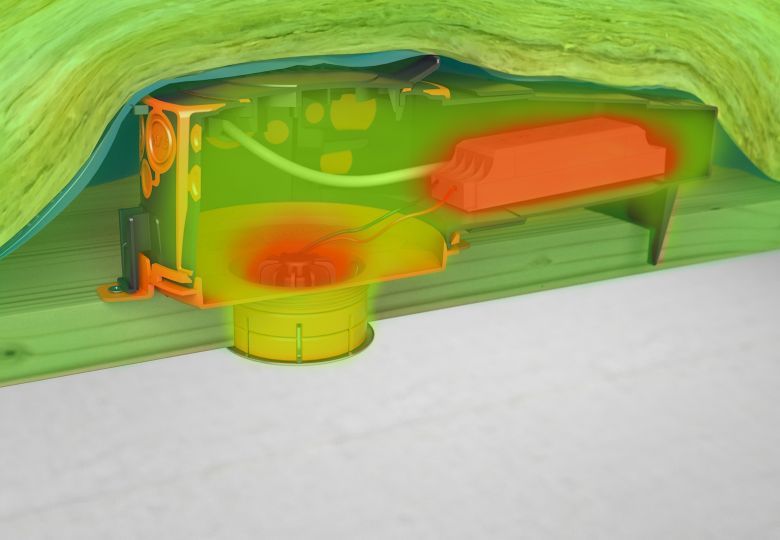
Optimum air circulation is guaranteed by ideal thermal management in the installation housing.
11
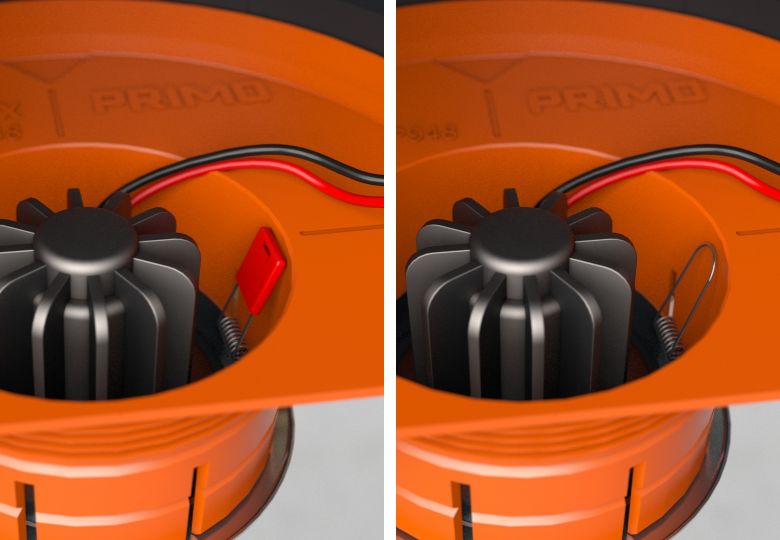
Suitable for clips with rubber coating and metal clips with expanding tabs.
12
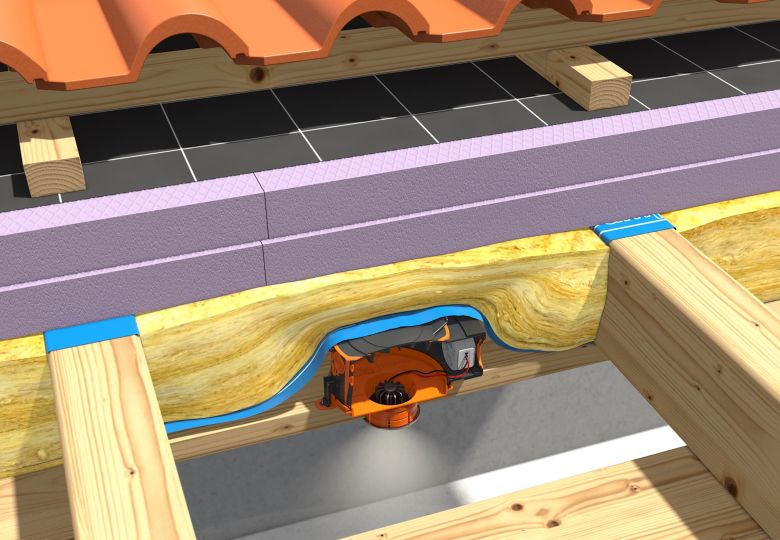
The installation housing and the Uni-Flexx do not damage the insulation. Thus, the energy efficiency is maintained.
Component parts for the Uni-Flexx
YOU MIGHT ALSO BE INTERESTED IN:
Further solutions for cavity wall installation
Do you have any questions about our products? We are there for You!
