STANDARDISED SPECIAL INSTALLATION HOUSINGS
Time-saving helpers: Ventilation Sleeve & Schalfix
STANDARDISED SPECIAL INSTALLATION HOUSINGS
The clever alternatives – Standardised Special Installation Housings
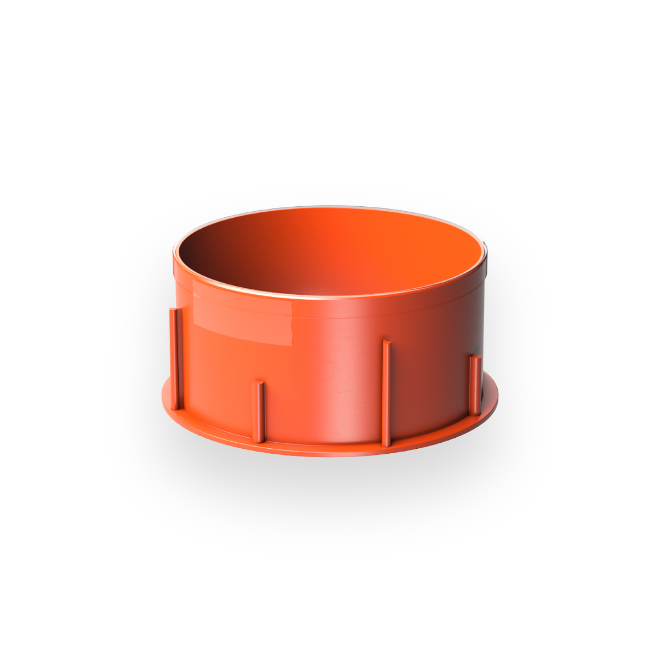
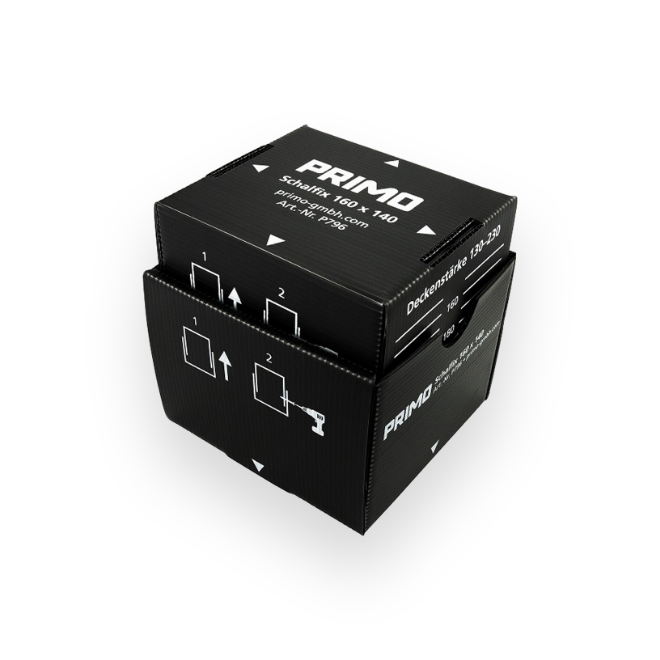
Tinkering belongs to yesterday! In order to facilitate the creation of recesses in cast-in-place concrete, Primo has developed practical and Standardised Special Installation Housings. This eliminates the time-consuming creation of individual wooden or foam polystyrene recesses for the electrician. In addition, the Primo products can simply be recycled after concreting and are therefore more sustainable than the classic methods. The Primo Ventilation Sleeve is ideal for ventilation recesses, while the Primo Schalfix is recommended for all other areas of application.
The special installation housings in action!
The special installation housings in action!
Innovative and efficient
With the use of the Primo Ventilation Sleeve, installers have a time-saving of up to 30 minutes per recess compared to the use of conventional methods. The Primo Schalfix even saves up to an hour of time compared to the classic recess. Both Schalfix sizes are made of plastic and therefore are completely weatherproof and pH-neutral. The polypropylene Ventilation Sleeve is heat-resistant from -5 °C to 100 °C and is halogen-free. All Special Installation Housings are recyclable.
Downloads:
Simple installation in a few steps
1
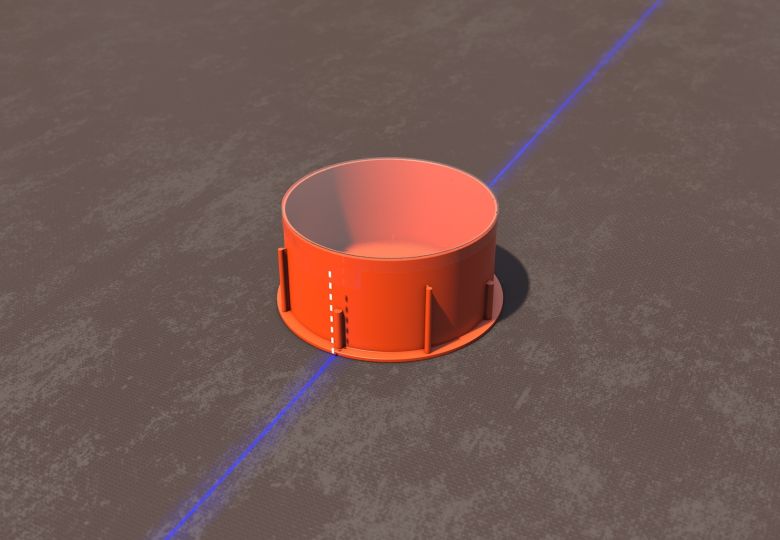
Position the ventilation sleeve on the formwork. The markings on the outside help with the precise alignment.
2
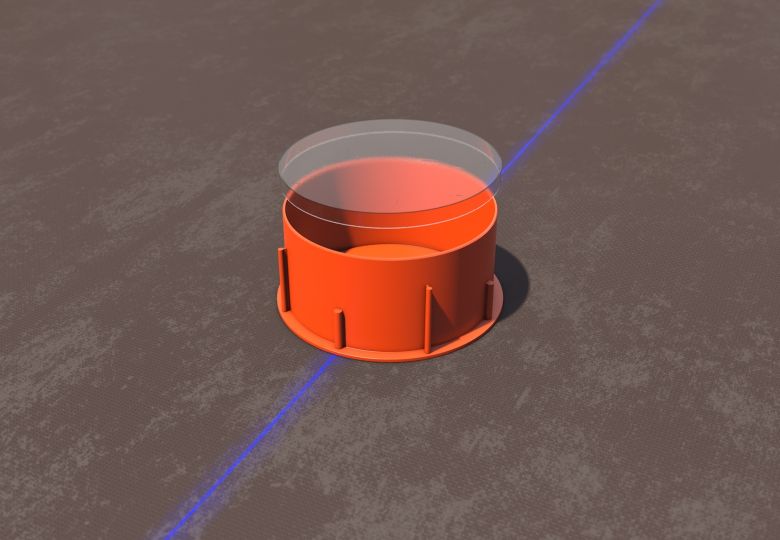
Remove the protective cover from the ventilation sleeve…
3
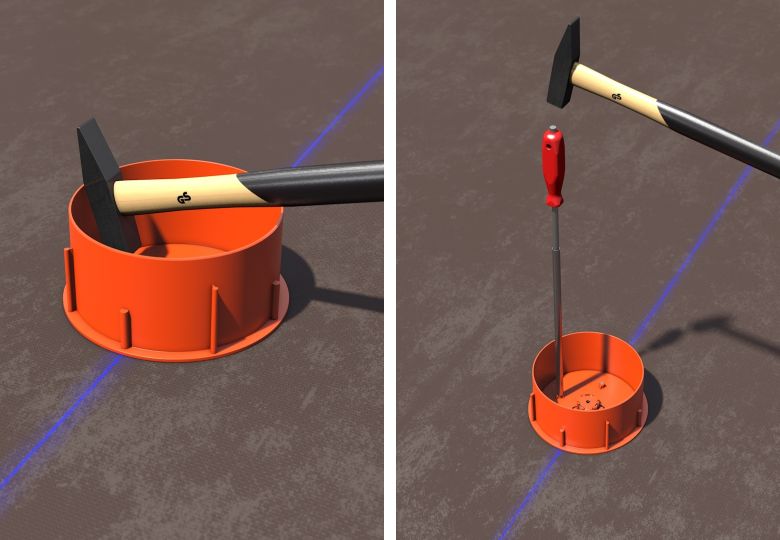
…and nail it – we recommend the Primo Nailer for simpler handling.
4
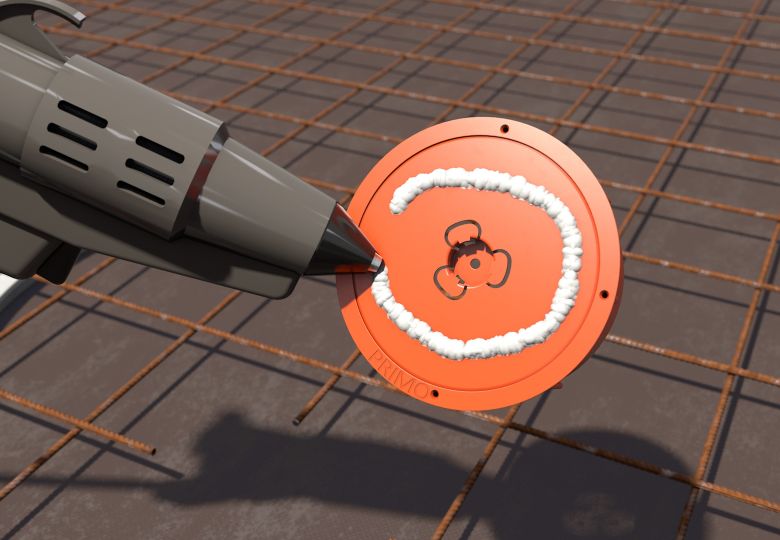
Another option: Glue the ventilation sleeve to the formwork.
5
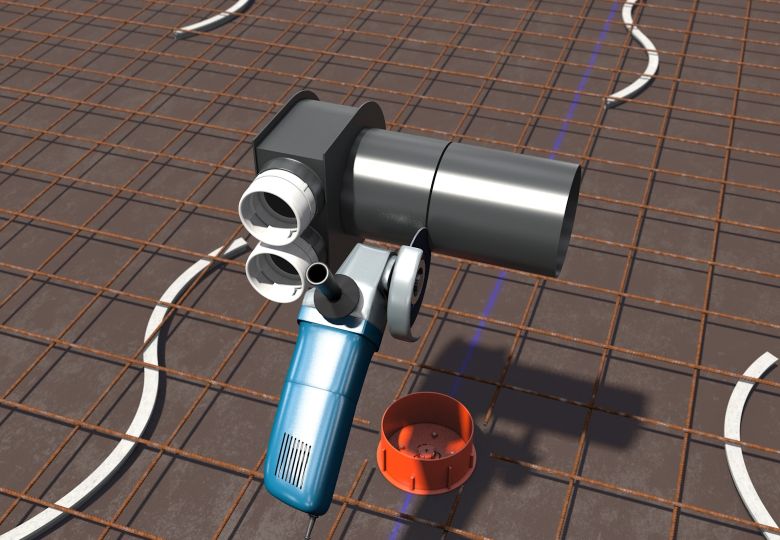
Install the reinforcement and shorten the conduit of the wall/ceiling box or ventilation distributor to the desired length.
6
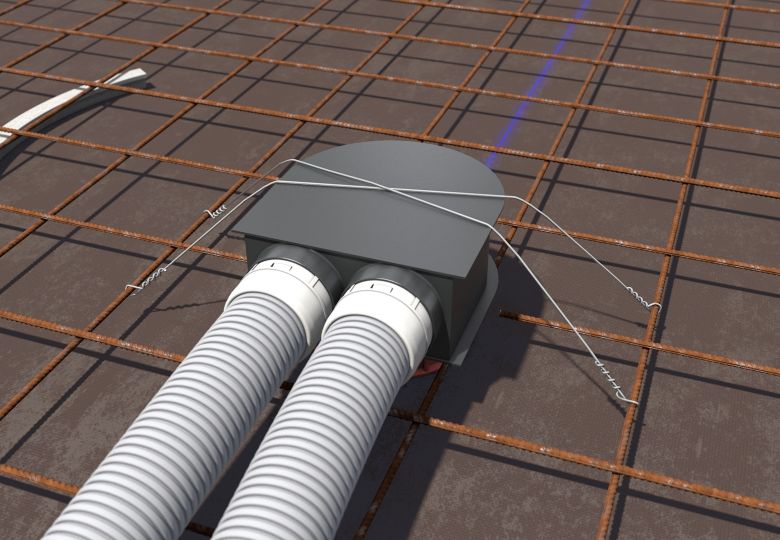
Insert the ventilation distributor into the ventilation sleeve and fix it to the reinforcement.
7
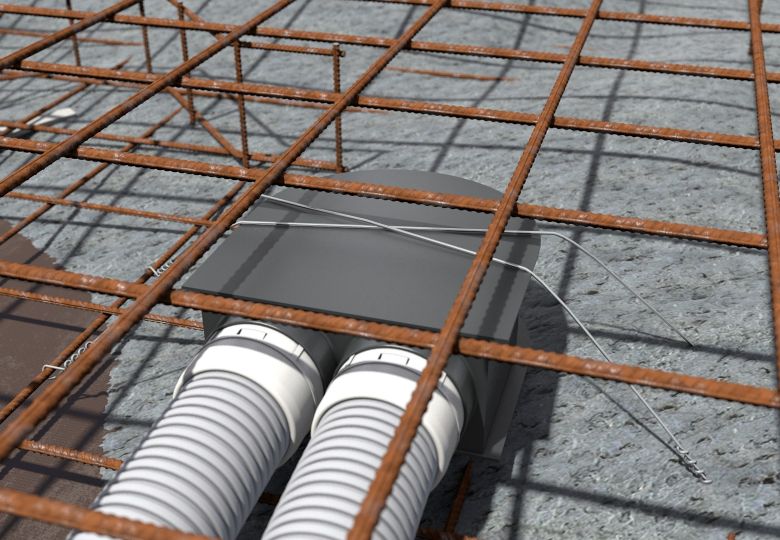
Opposing formwork in the basement is not necessary. Install the upper reinforcement and concrete directly.
8
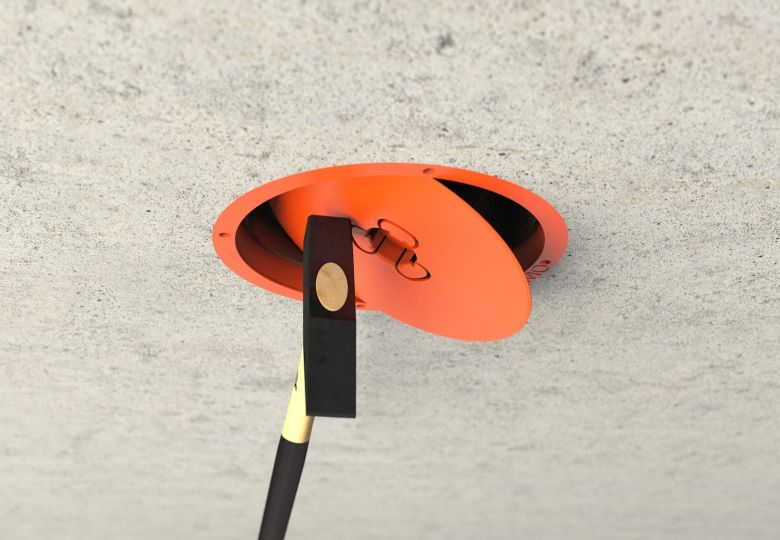
Tap in the cover of the Ventilation Sleeve from underneath with a hammer.
9
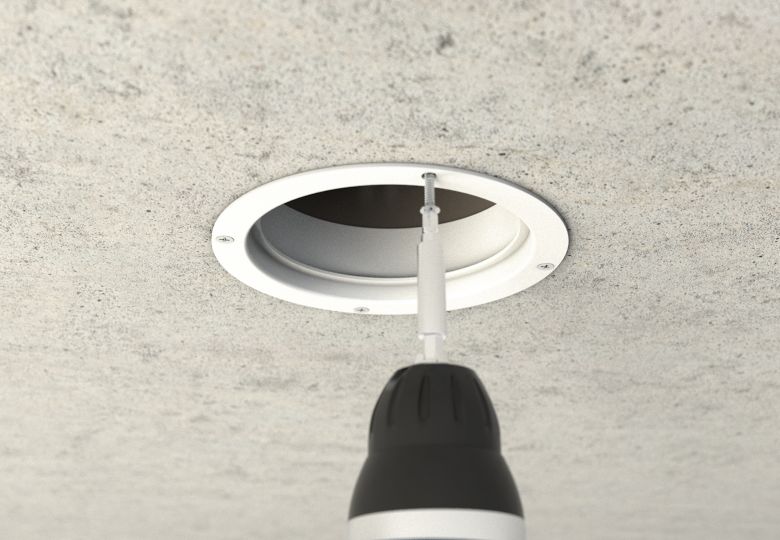
Screw the adapter ring onto the Ventilation Sleeve without pre-drilling.
10
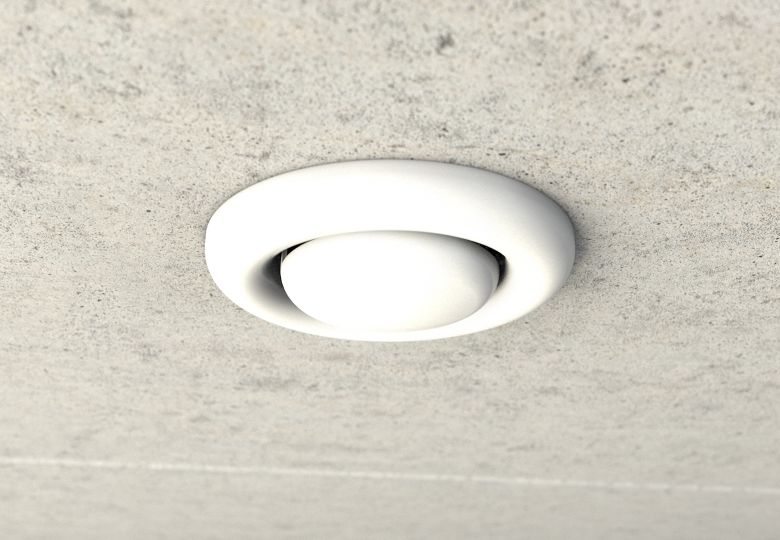
Install the ventilation outlet.
11
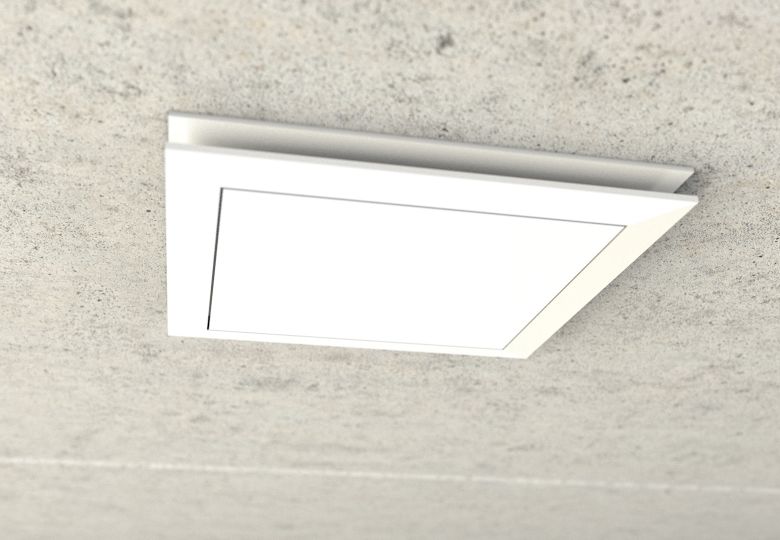
Thanks to integrated and standardised screw bosses, other ventilation outlet forms are also possible.
1
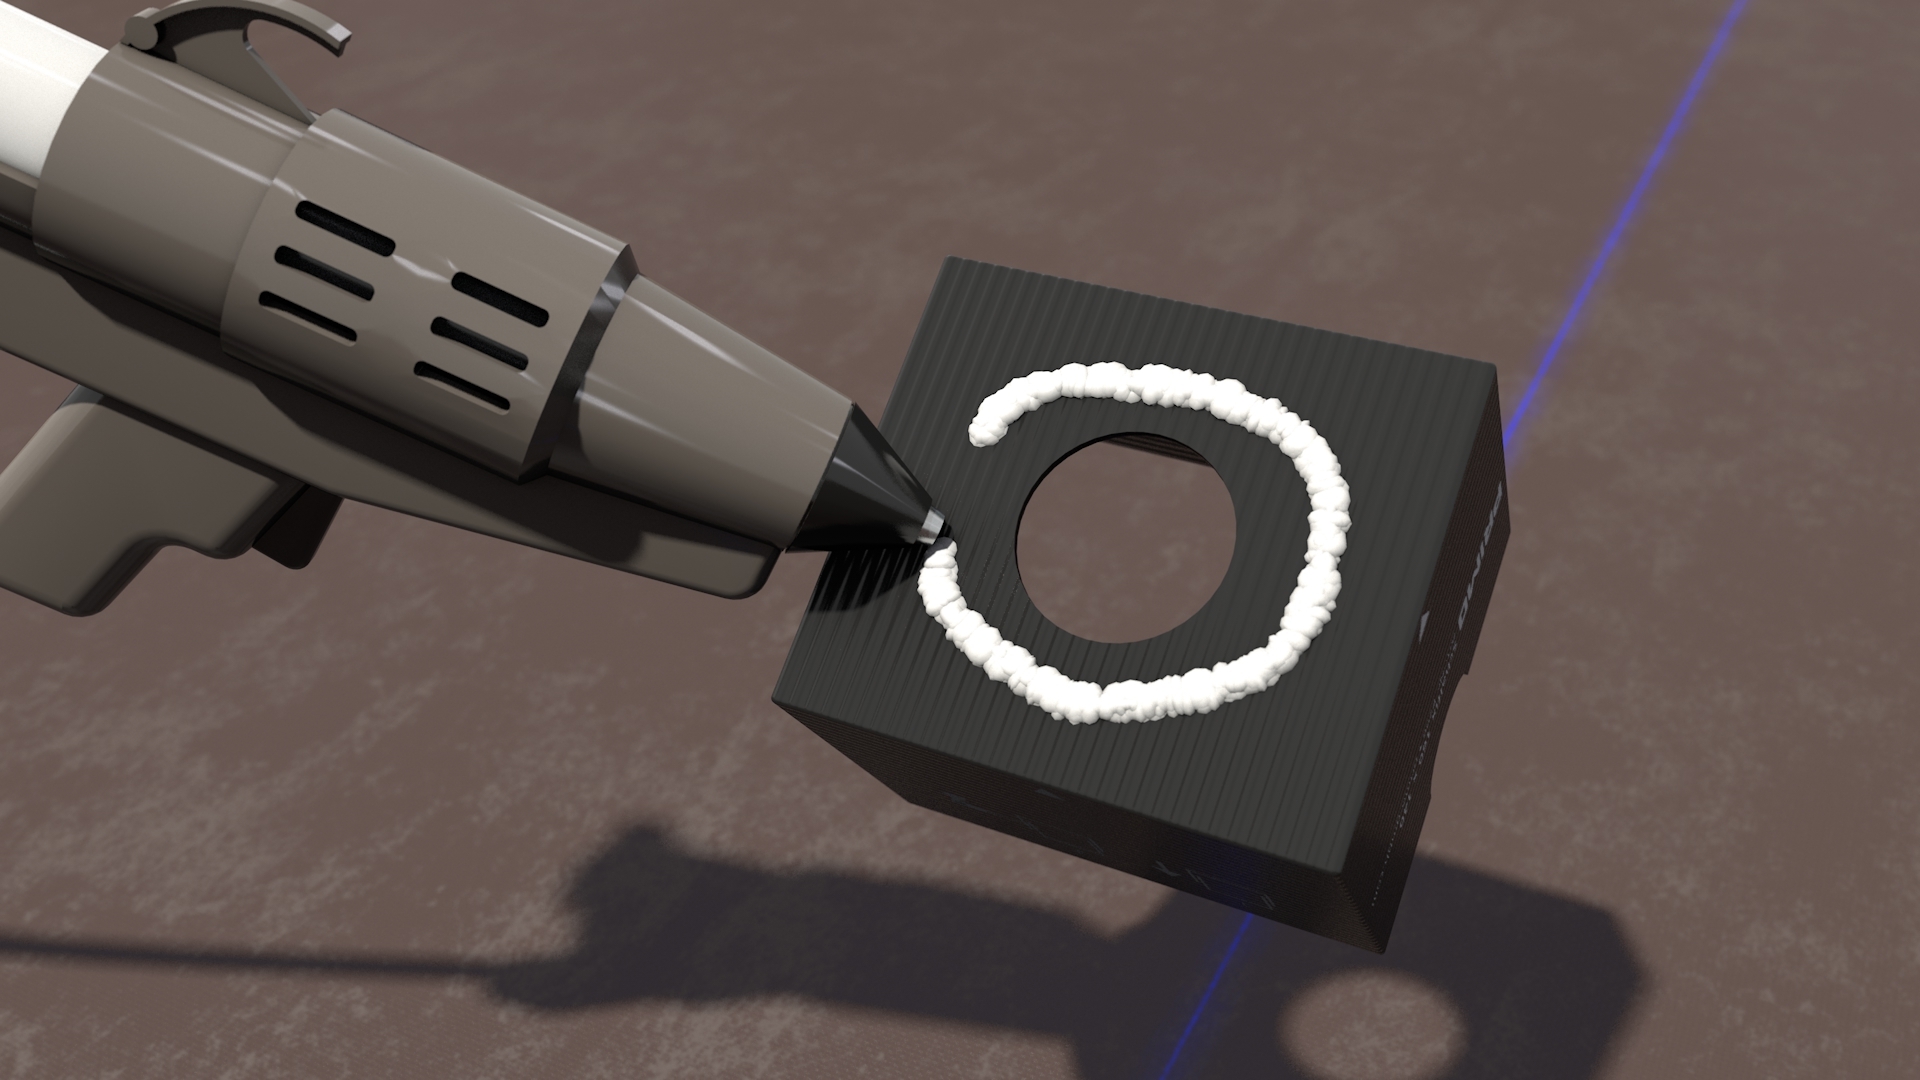
Variant 1: Glue Schalfix to the formwork with hot-melt glue.
2
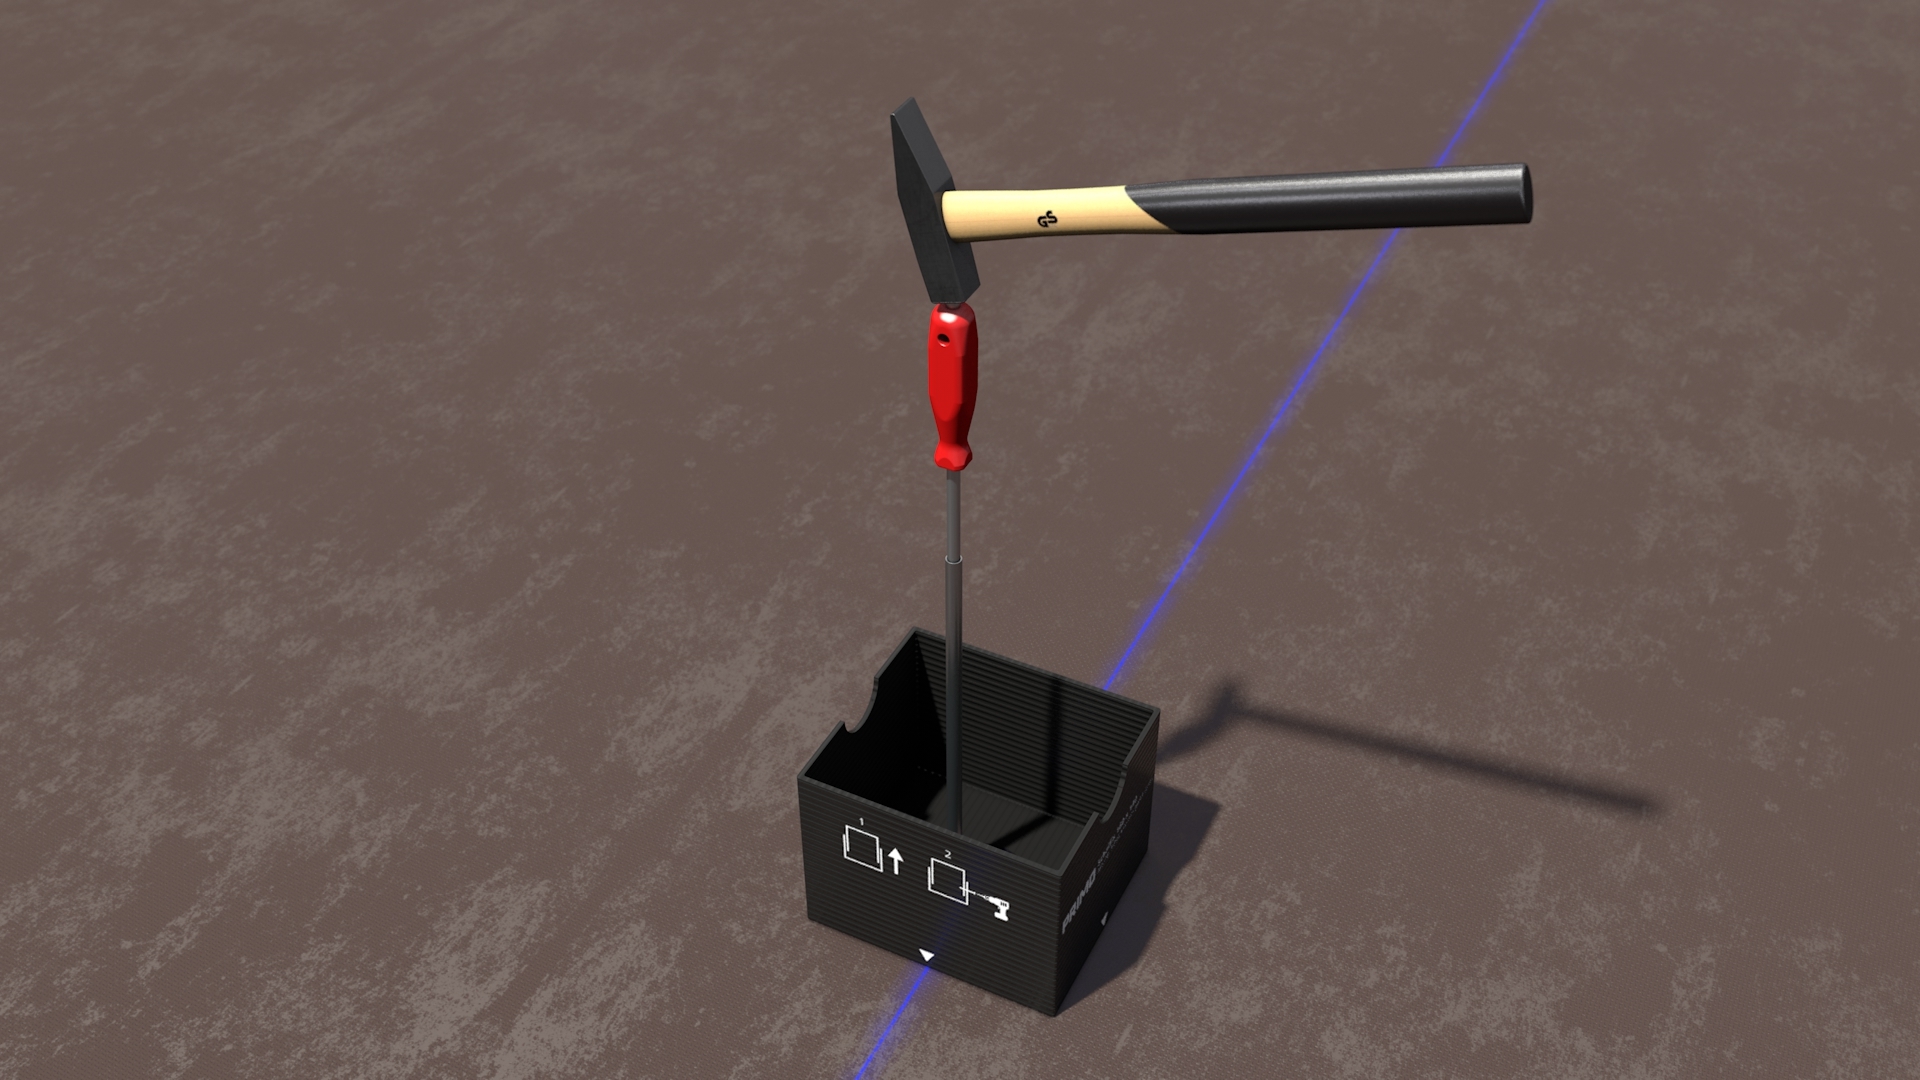
Variant 2: Nail Schalfix to the formwork. We recommend the Primo Nailer for simpler handling.
3

Push the inner part in from the top …
4
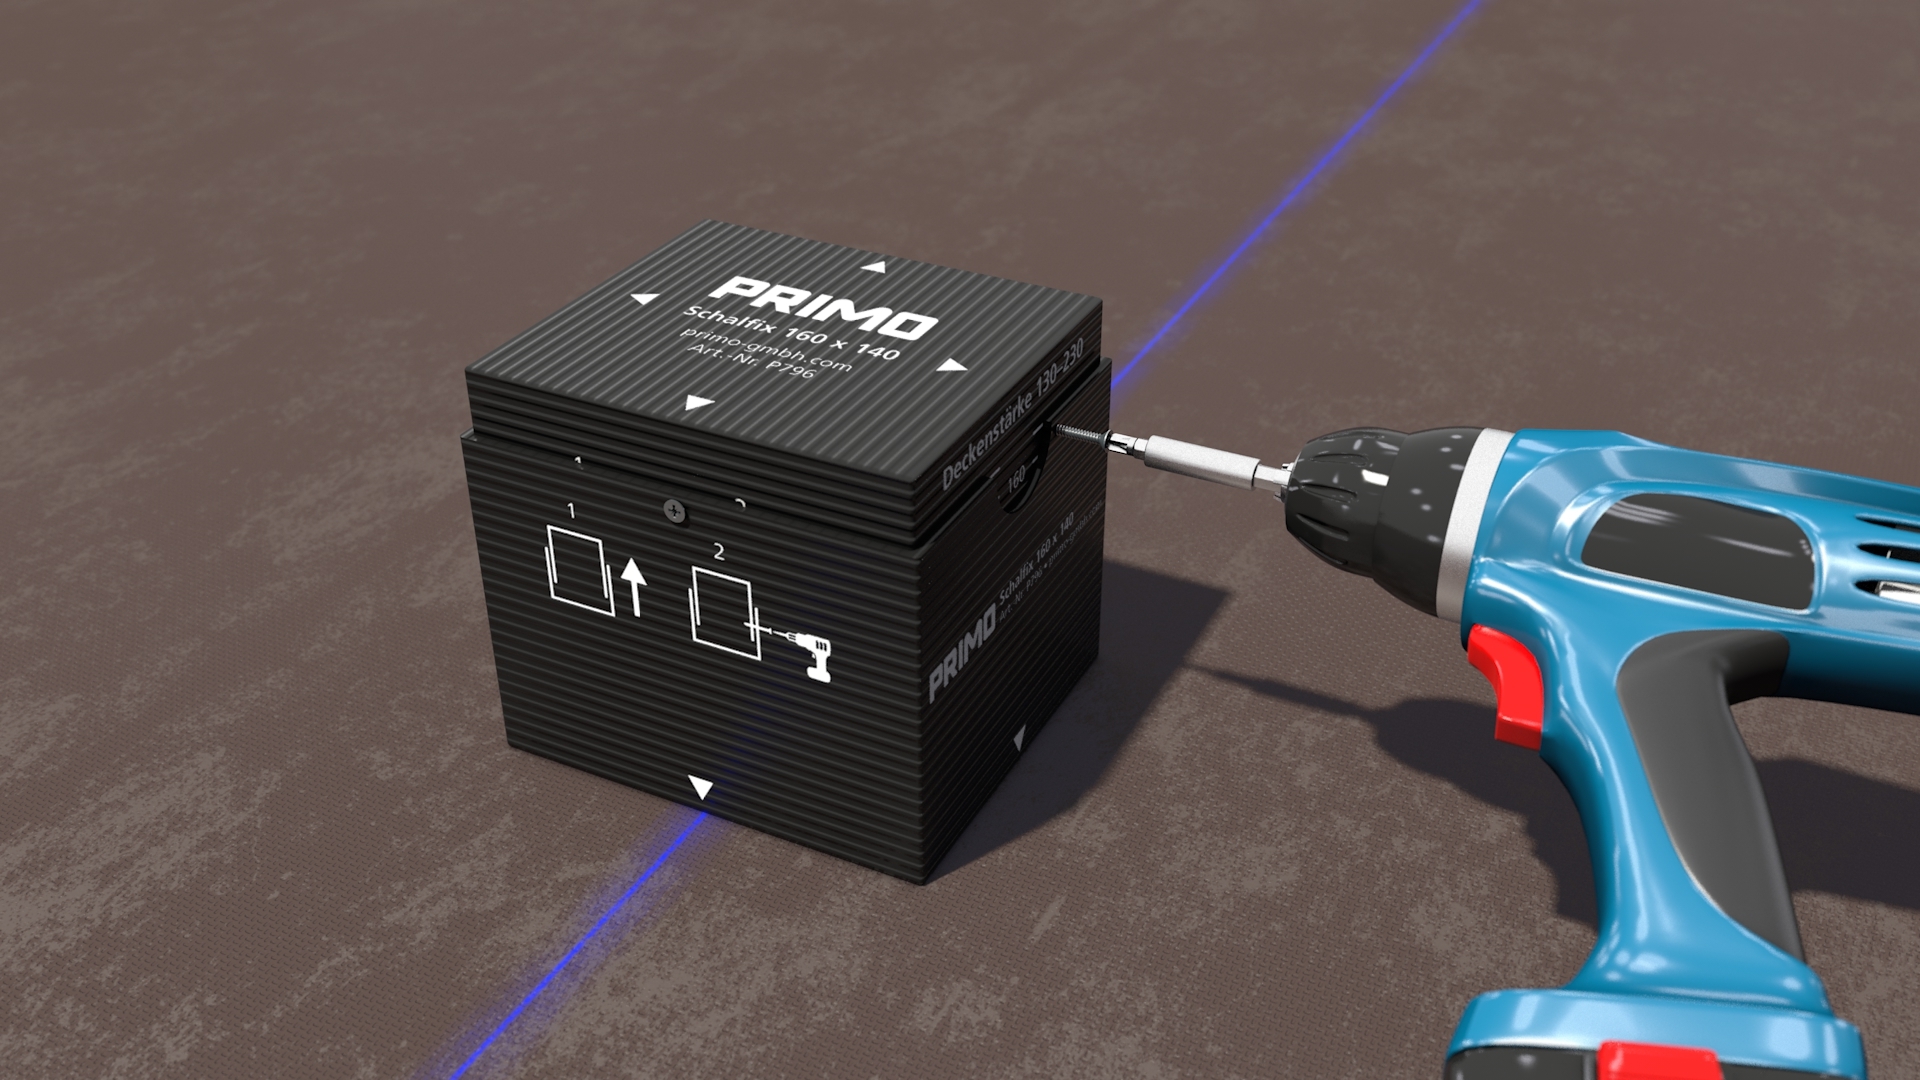
… and fix it to the outer part with screws.
5
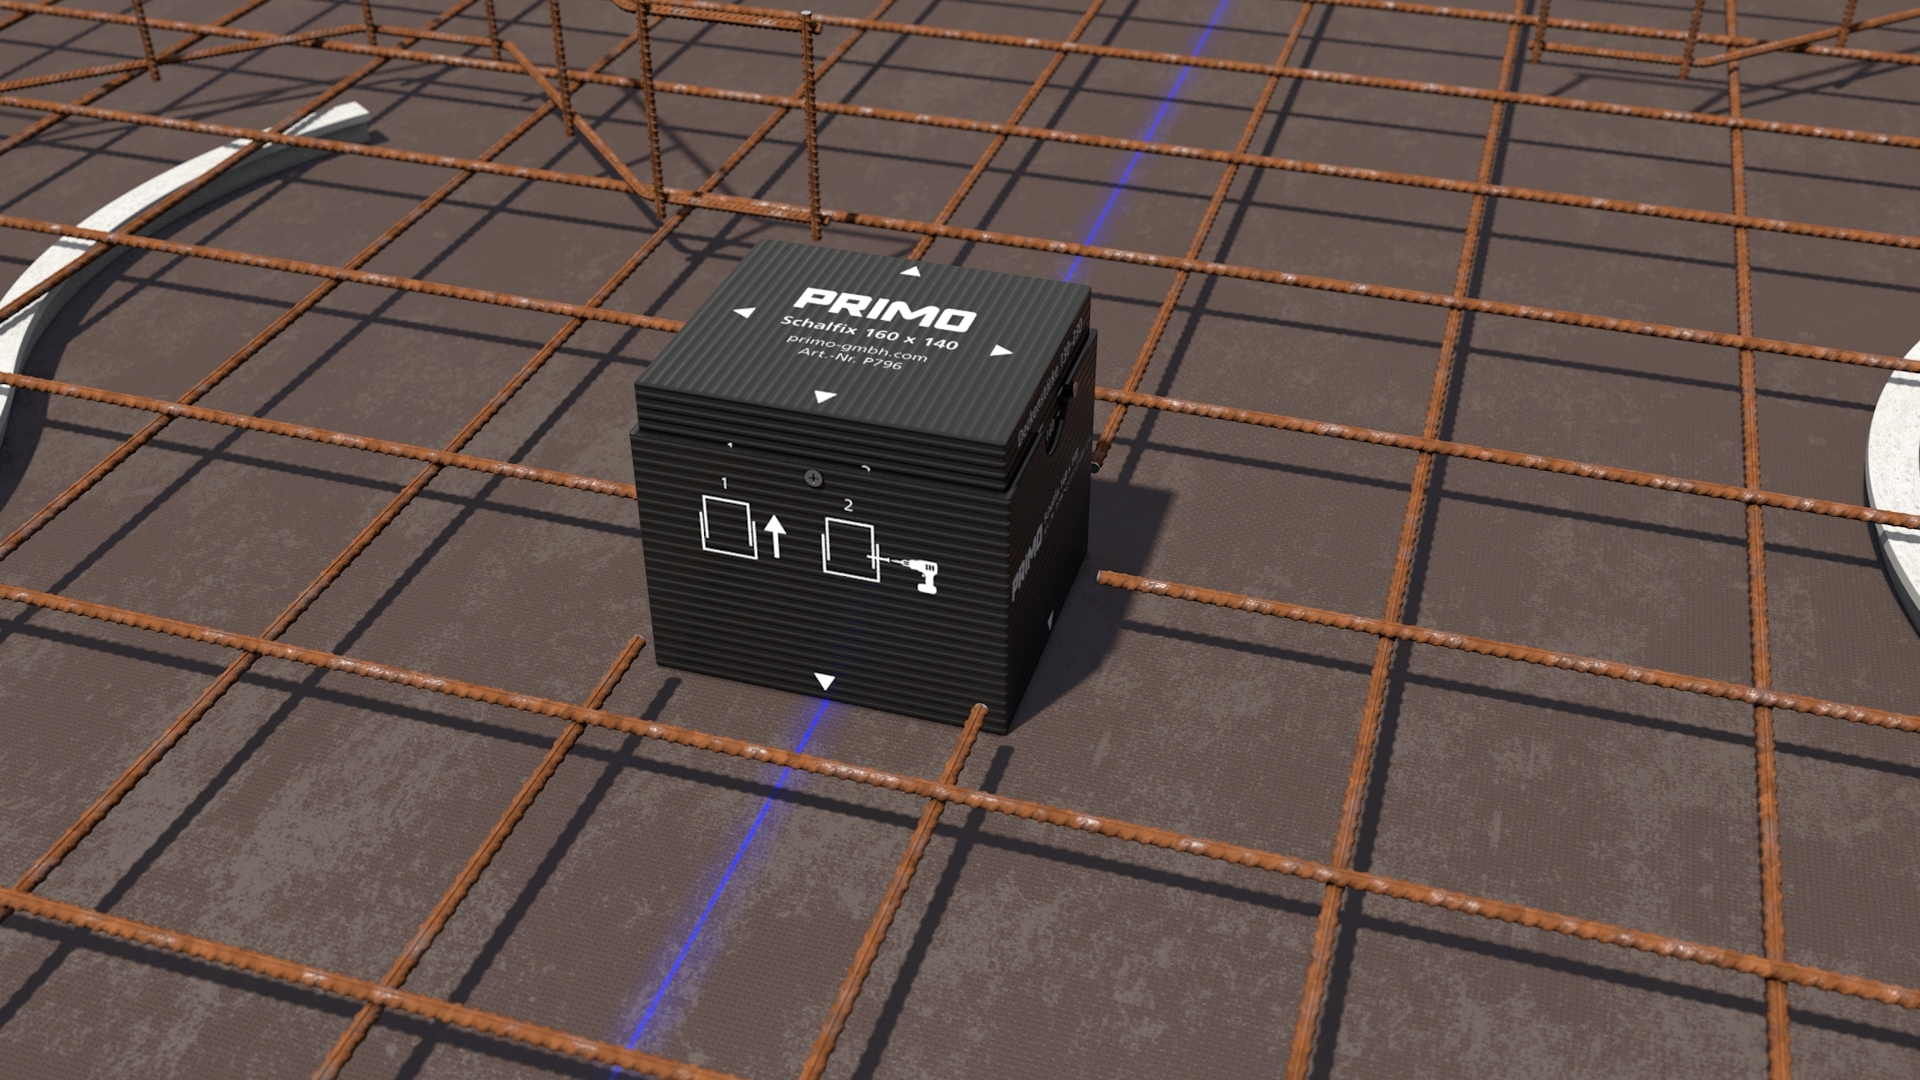
Install cross-irons, reinforcement and concrete.
6
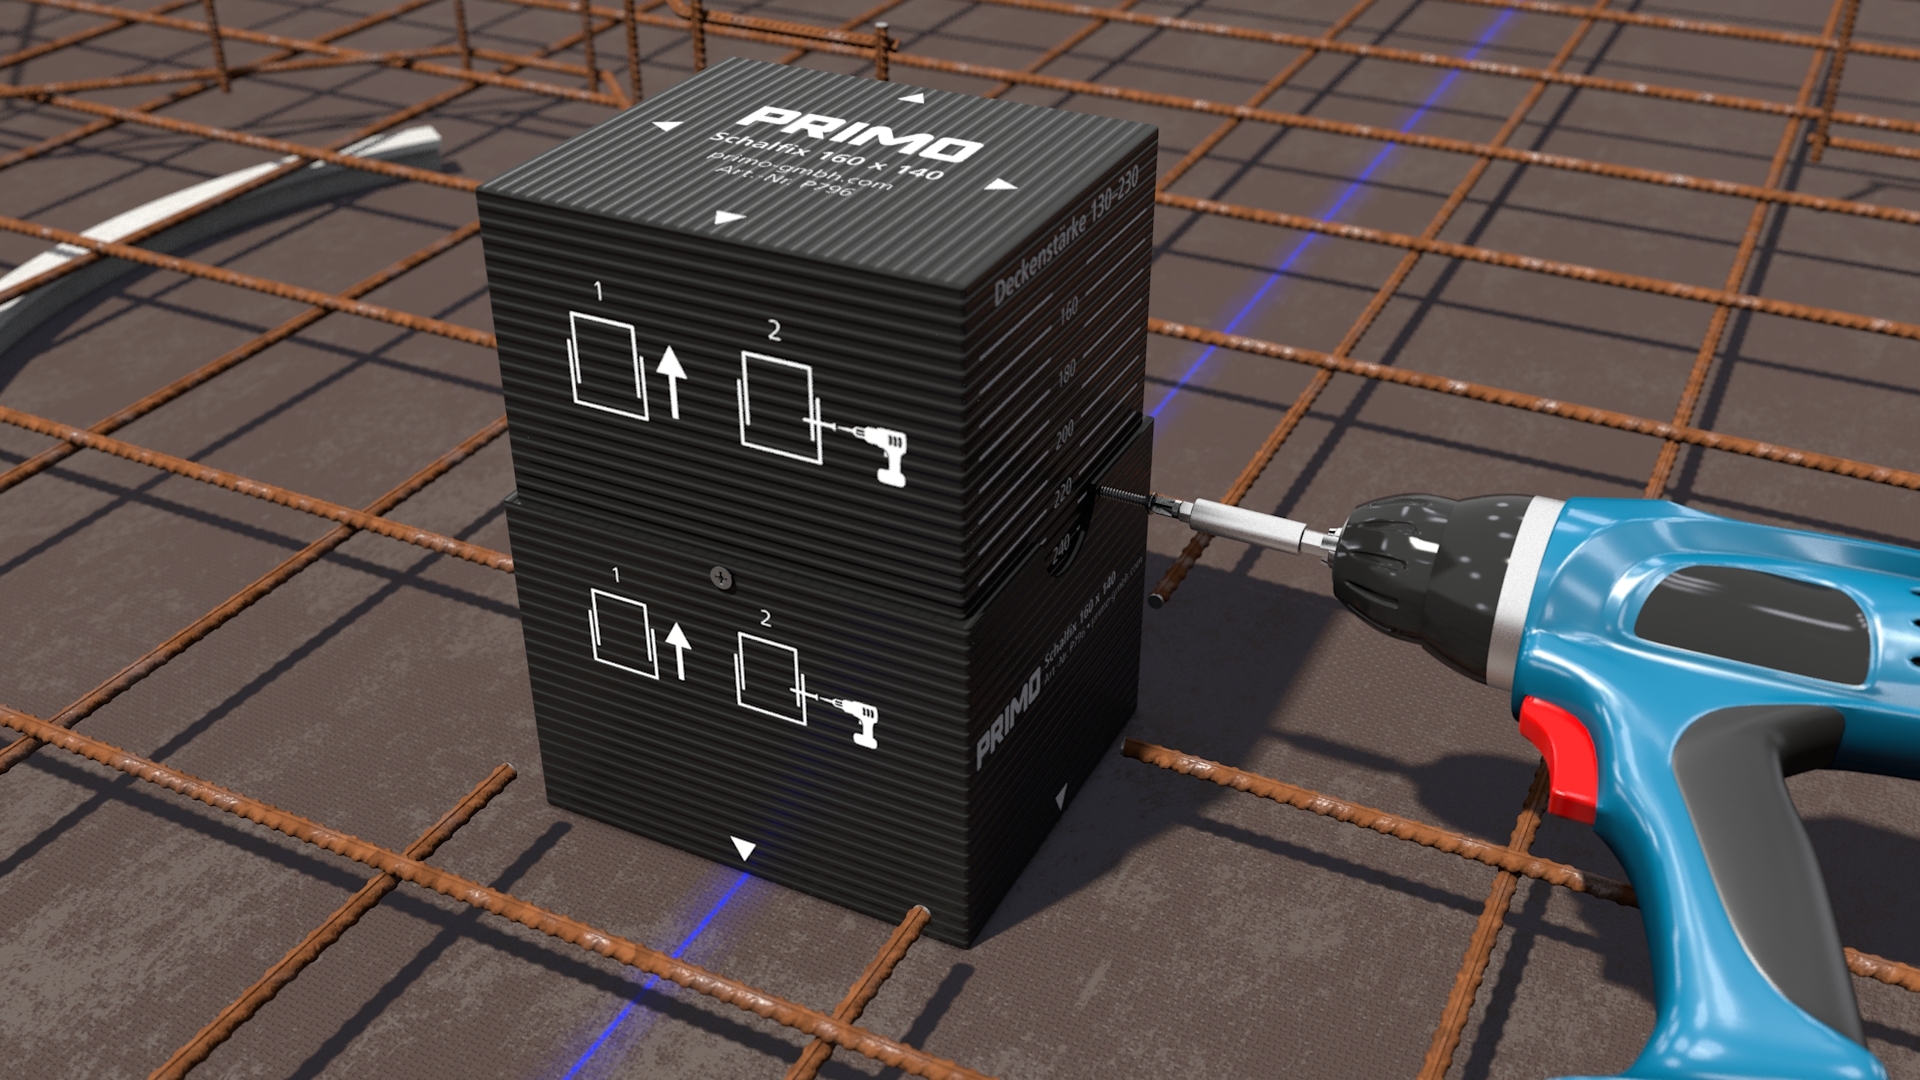
Loosen the screws, pull the inner part of the Schalfix to the desired height and fix it with the screws.
7
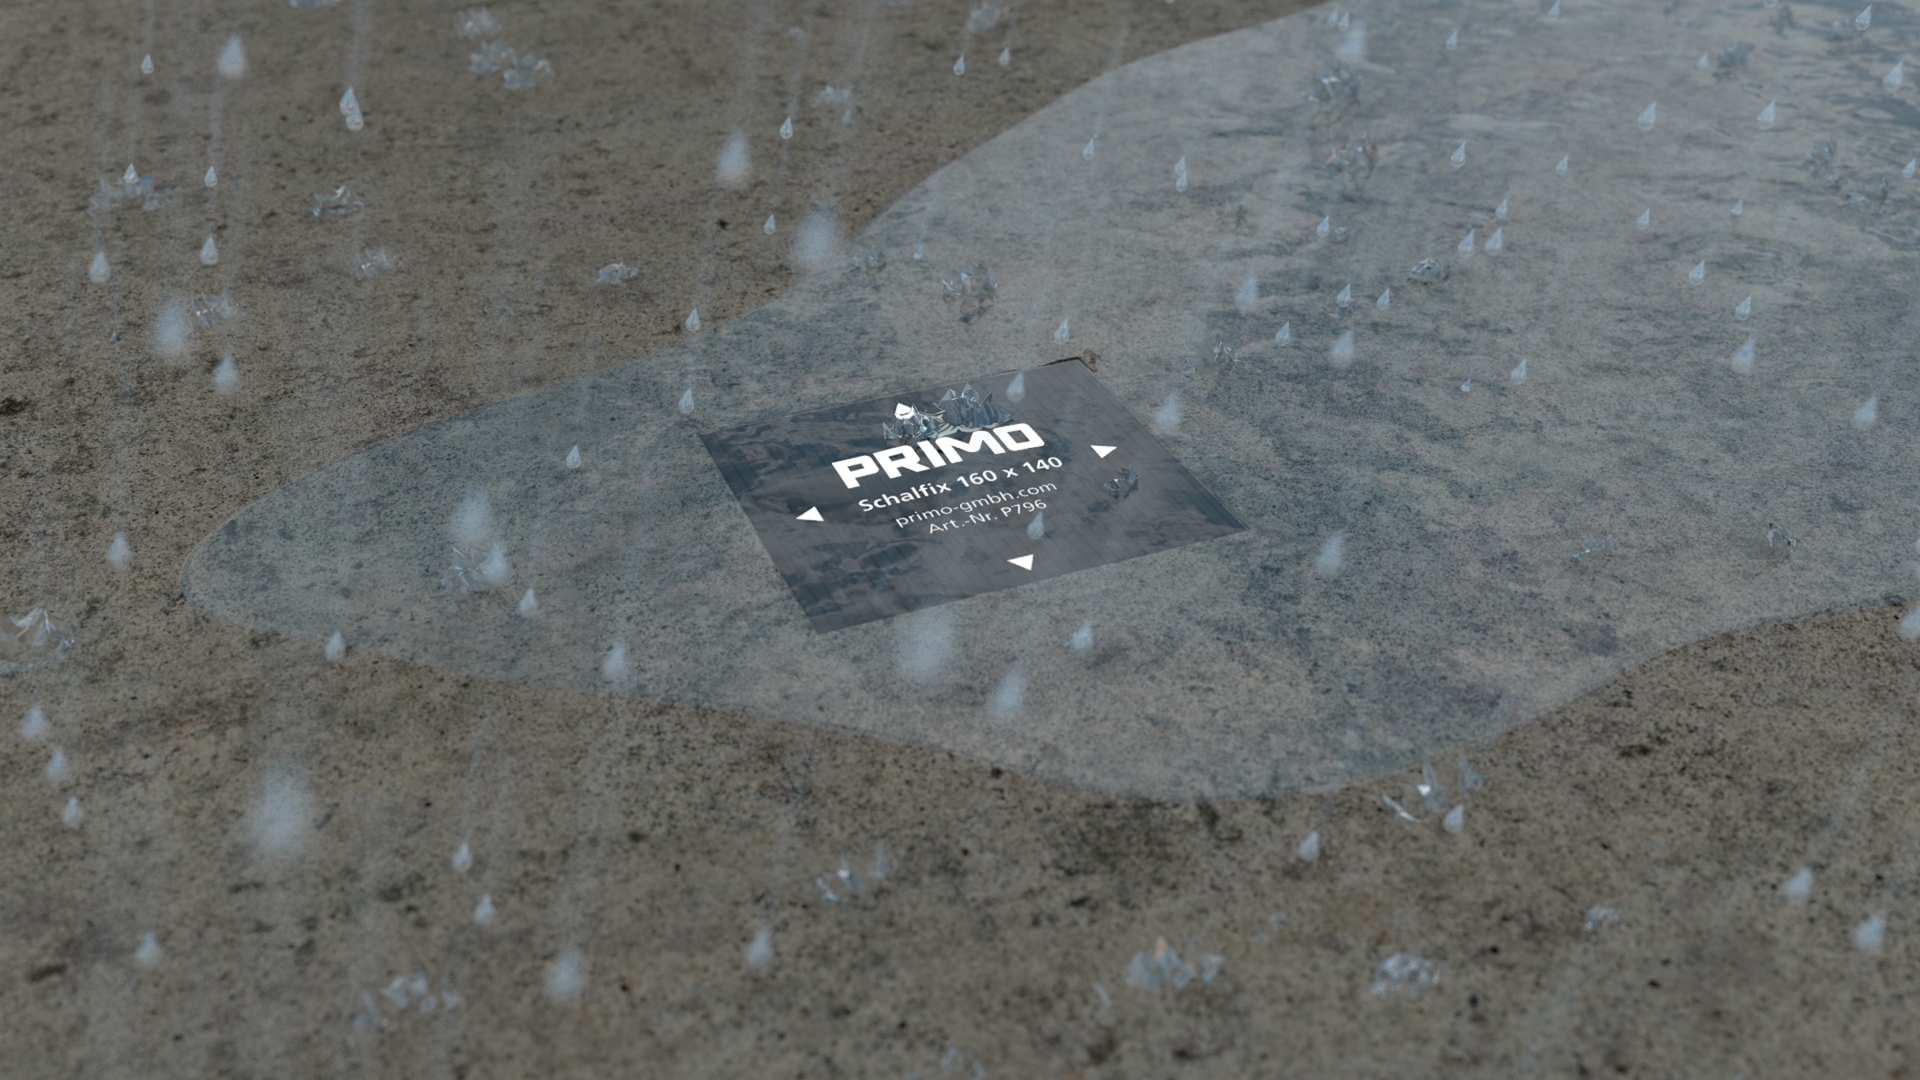
Finish the concreting. Watertight cover prevents wet building shell.
8
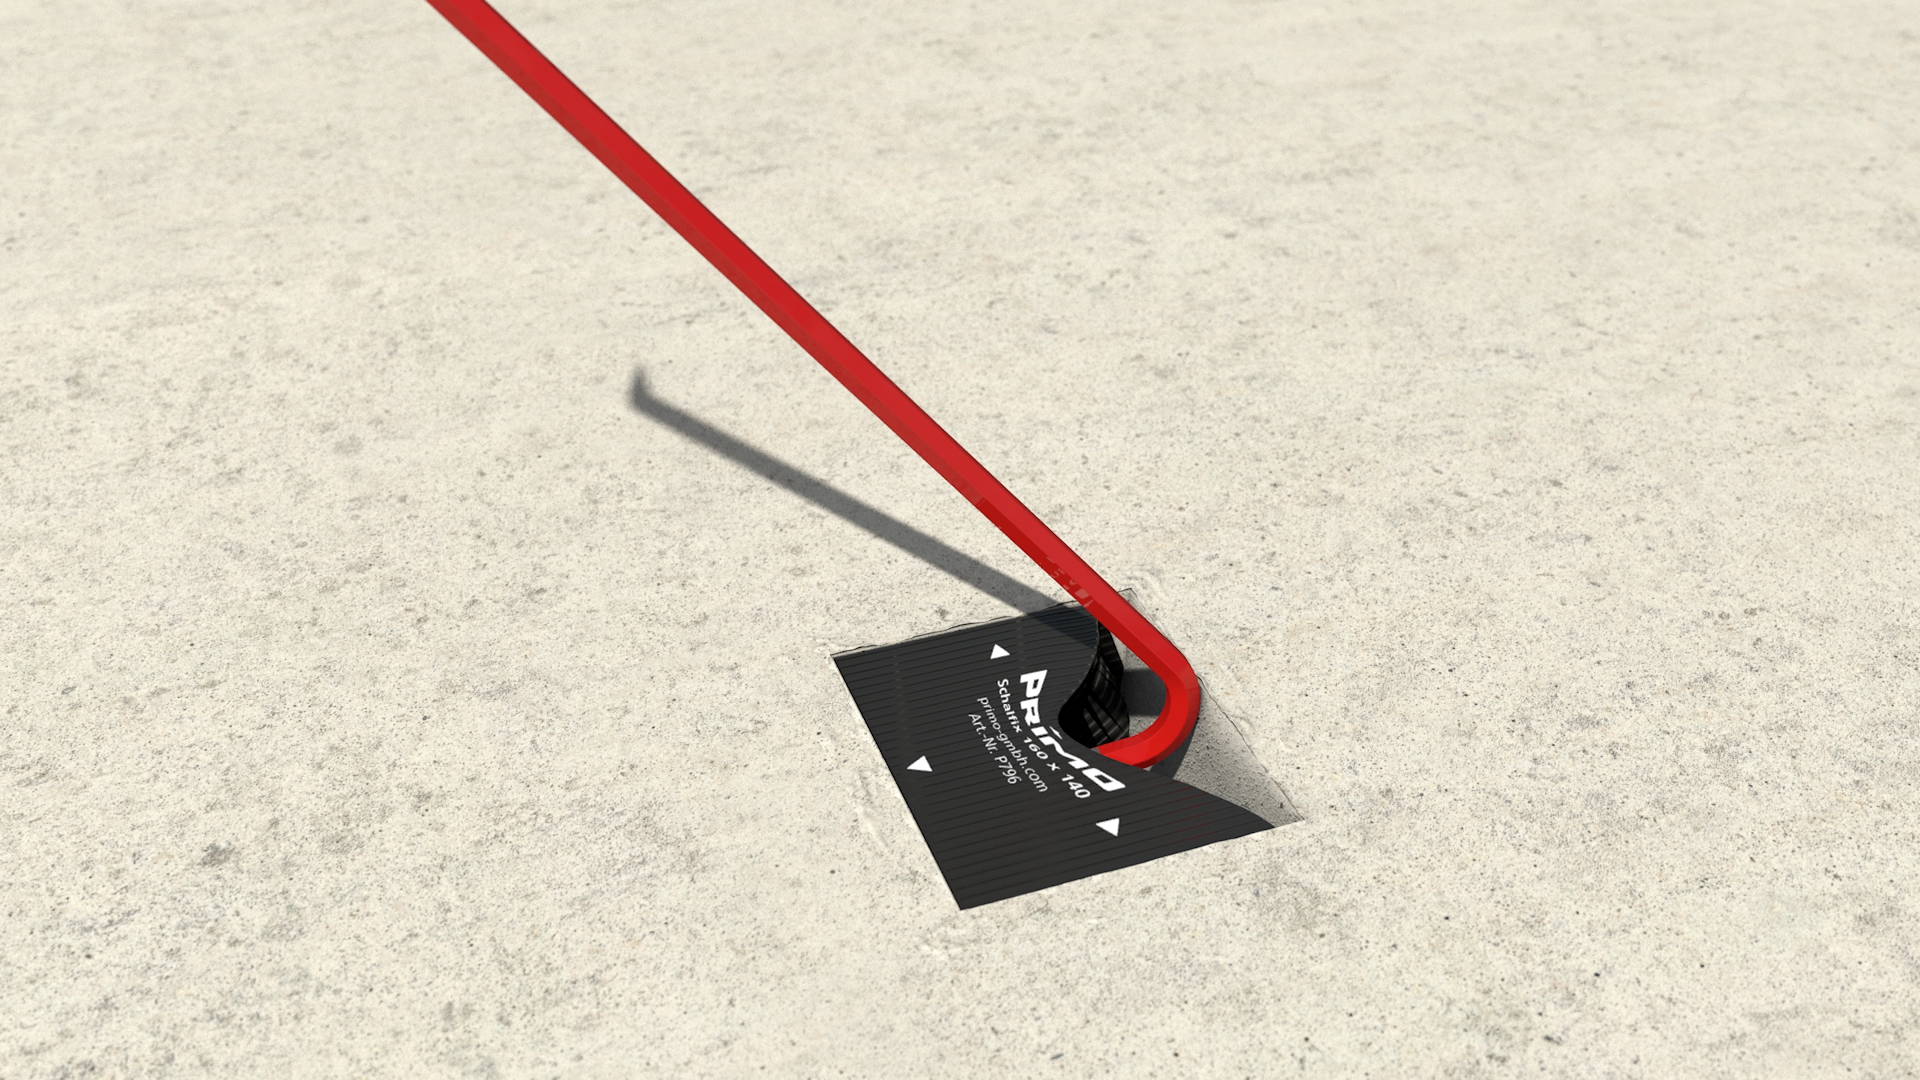
Remove Schalfix in a simple way…
9
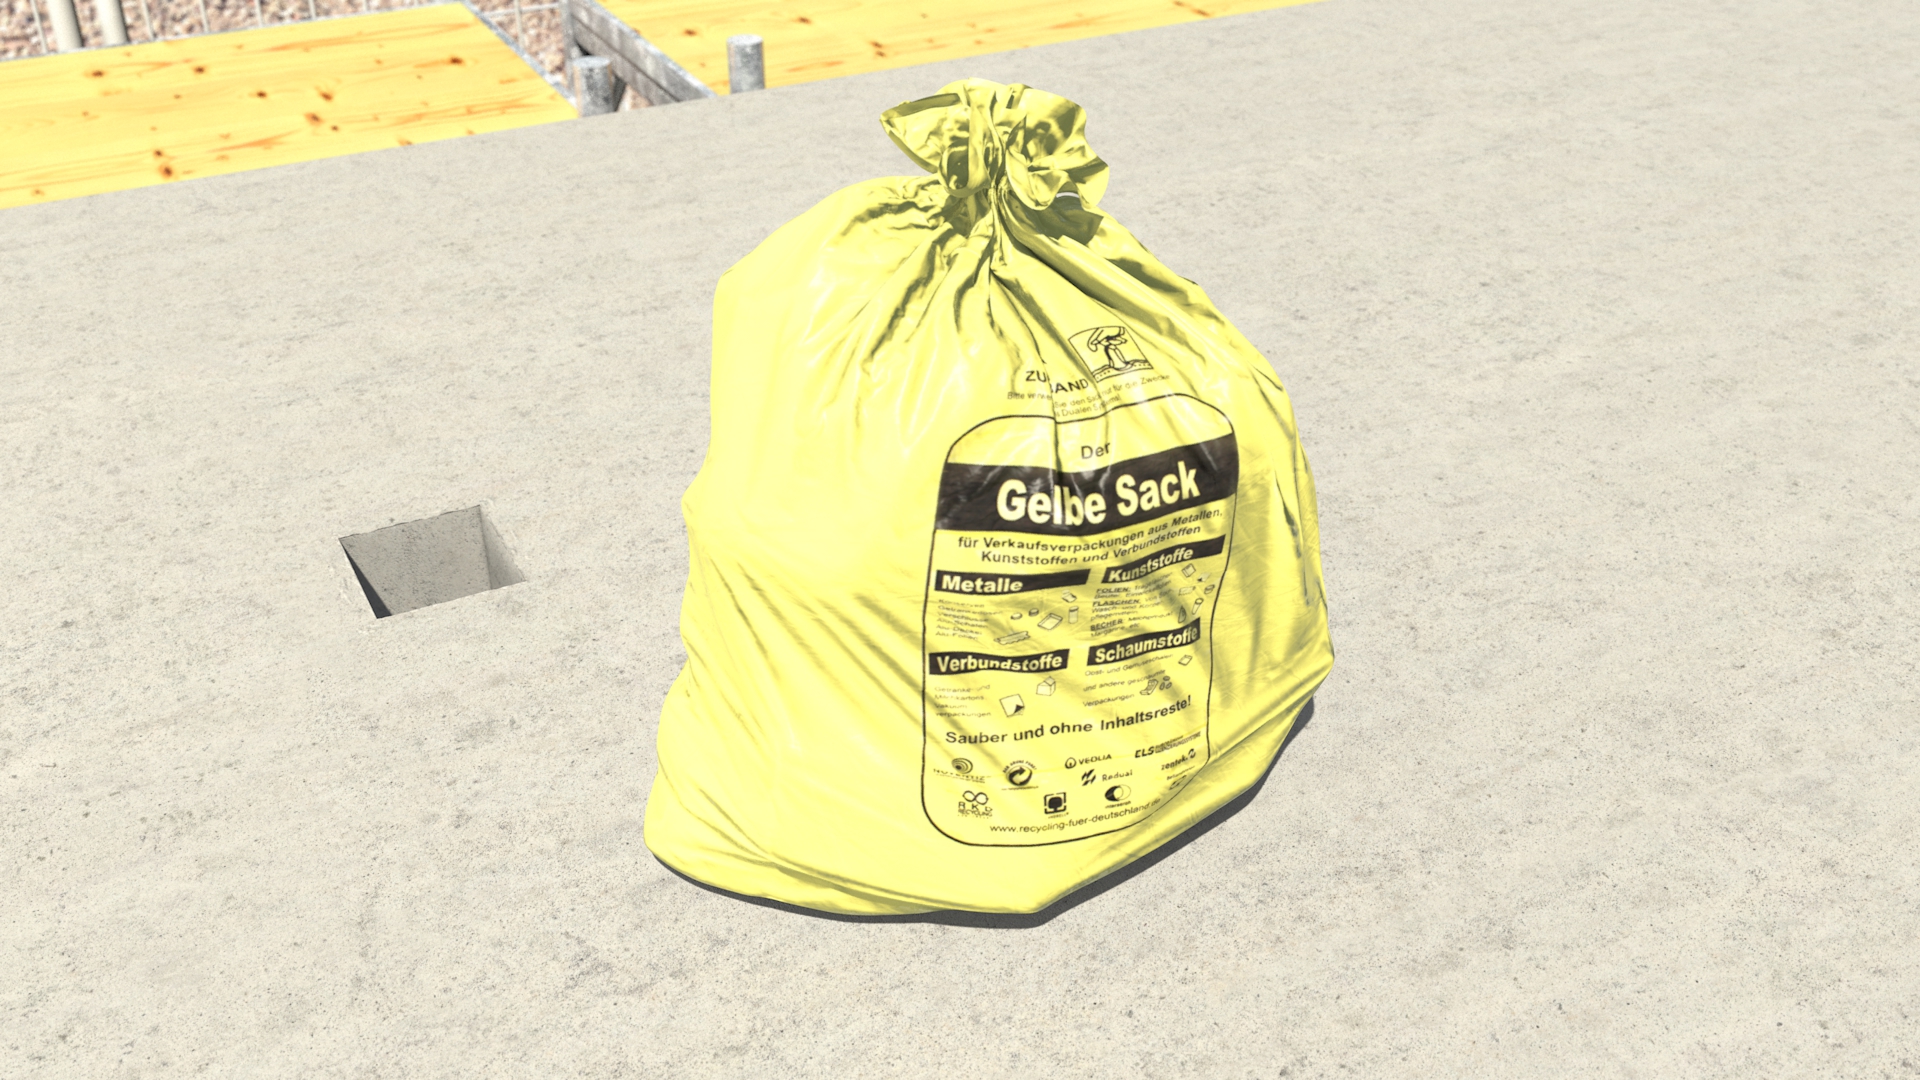
…and recycle without hazardous waste.
YOU MIGHT ALSO BE INTERESTED IN:
Further solutions for concrete installation
Do you have any questions about our products? We are there for You!
